The ig photos of this cake got so many likes that I wanted to give you a little behind the scenes peek at what went in to frosting this cake!
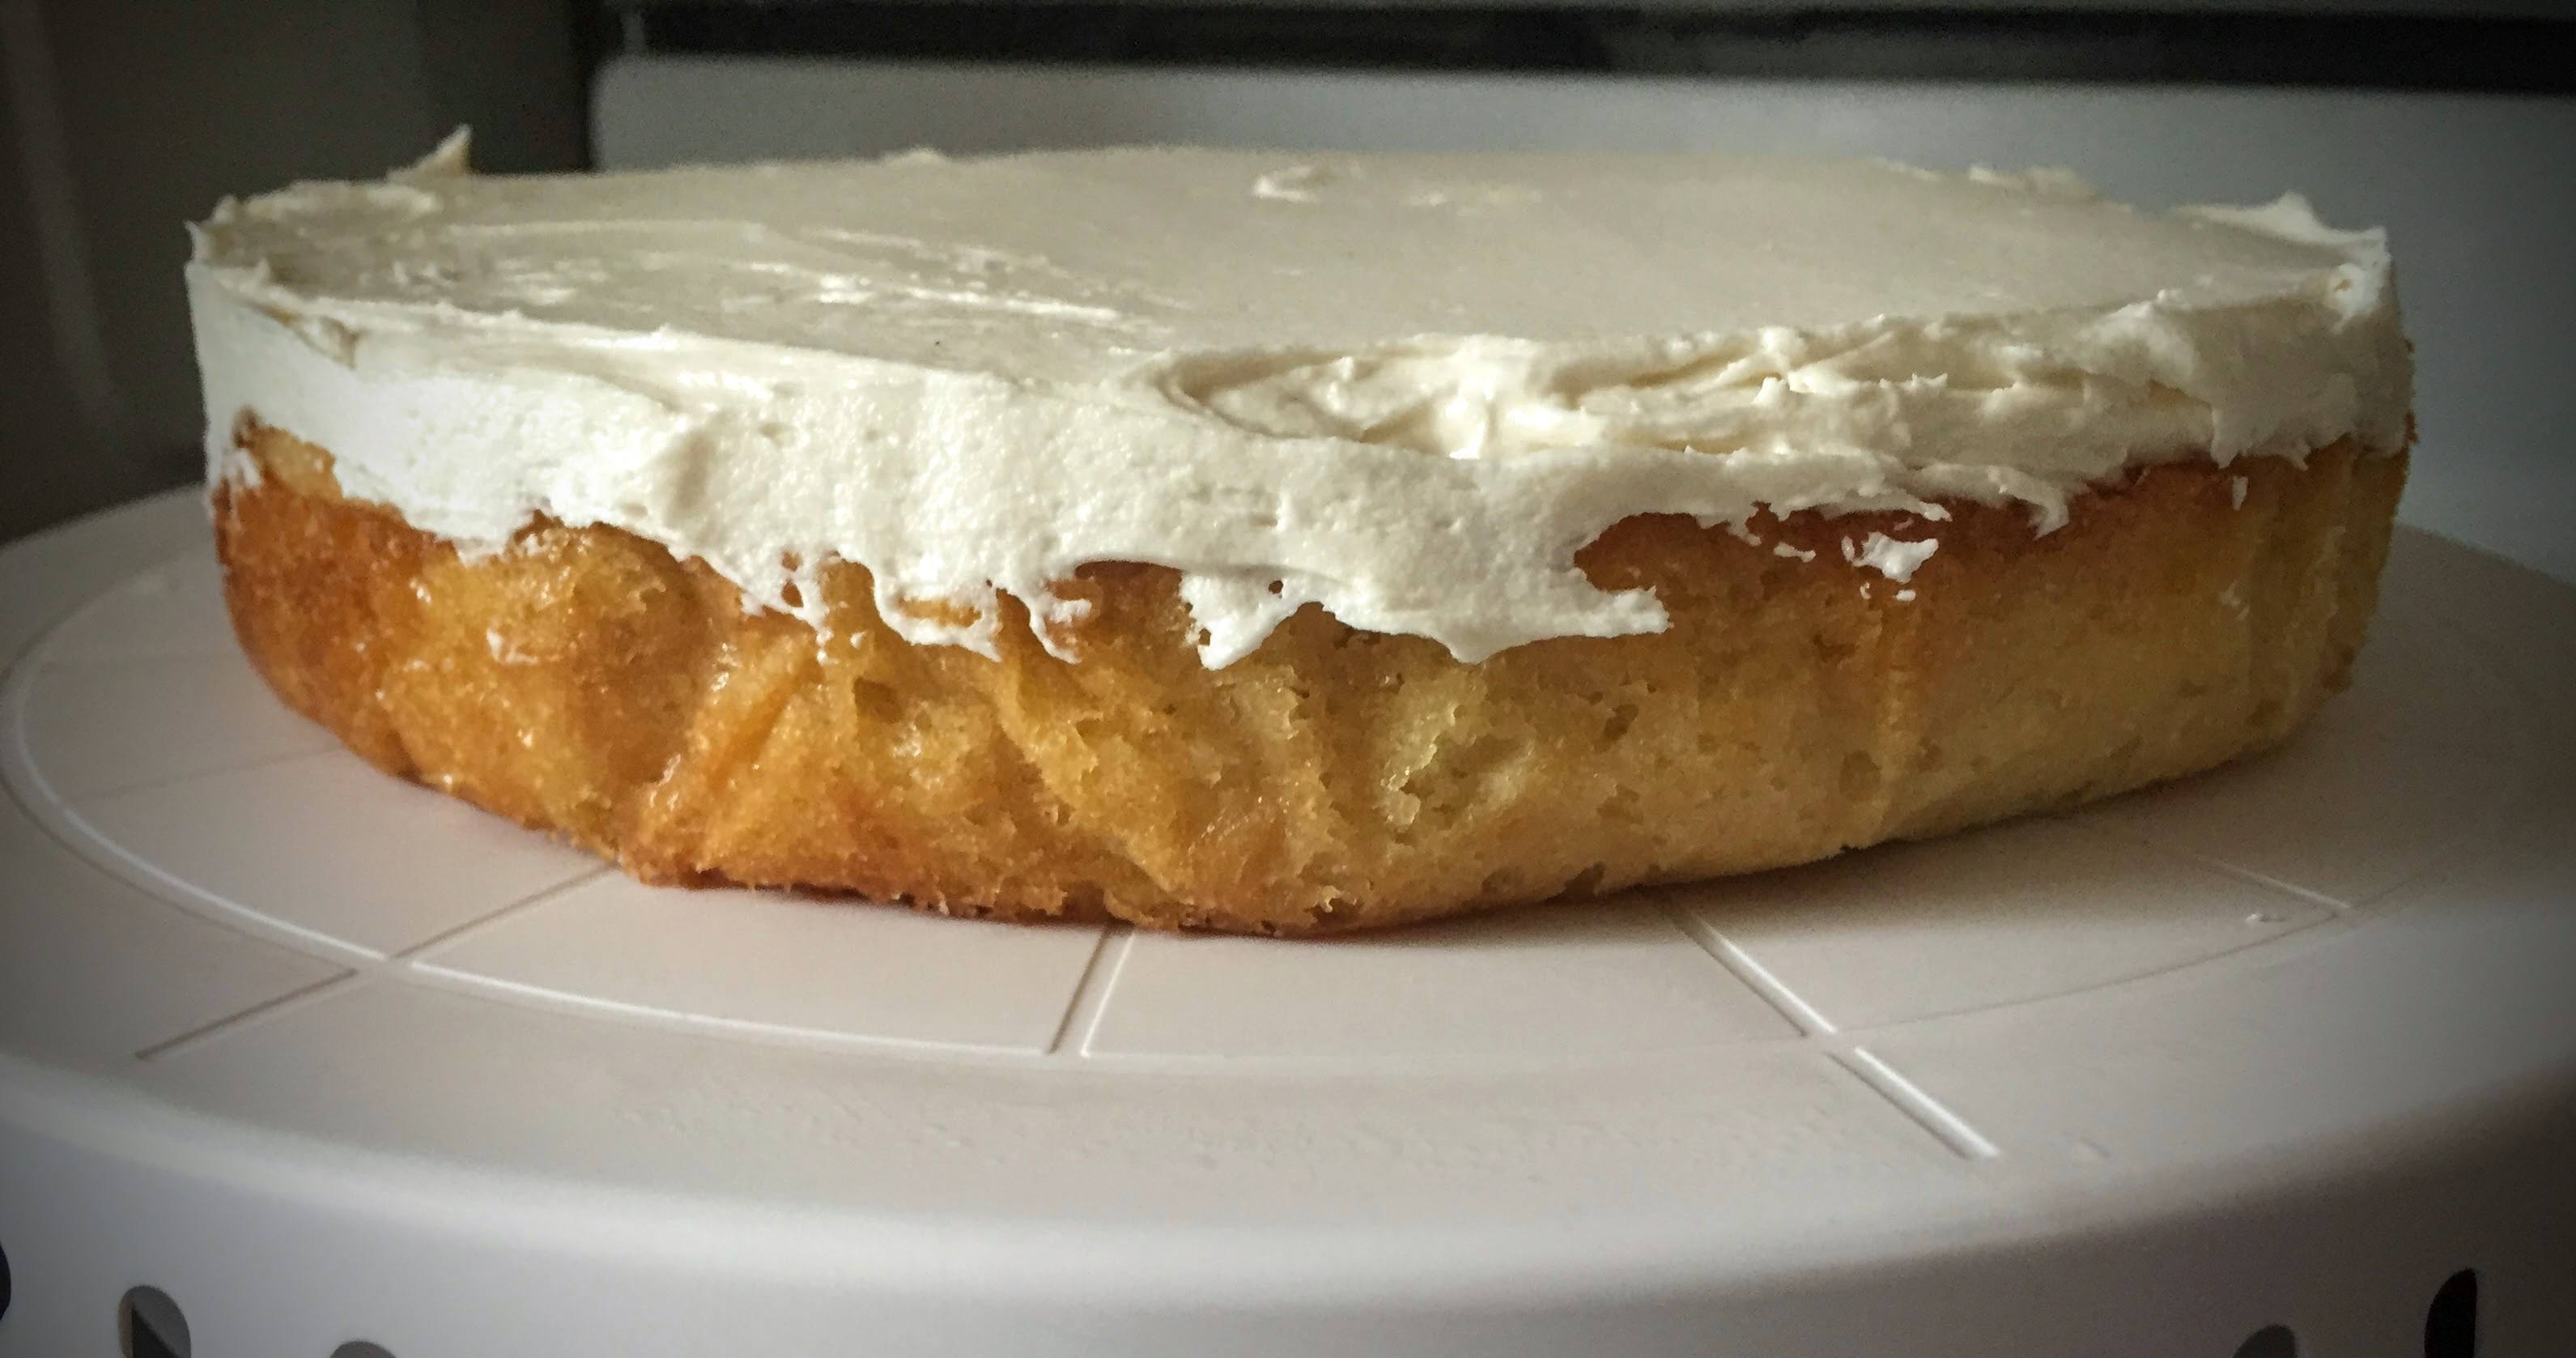
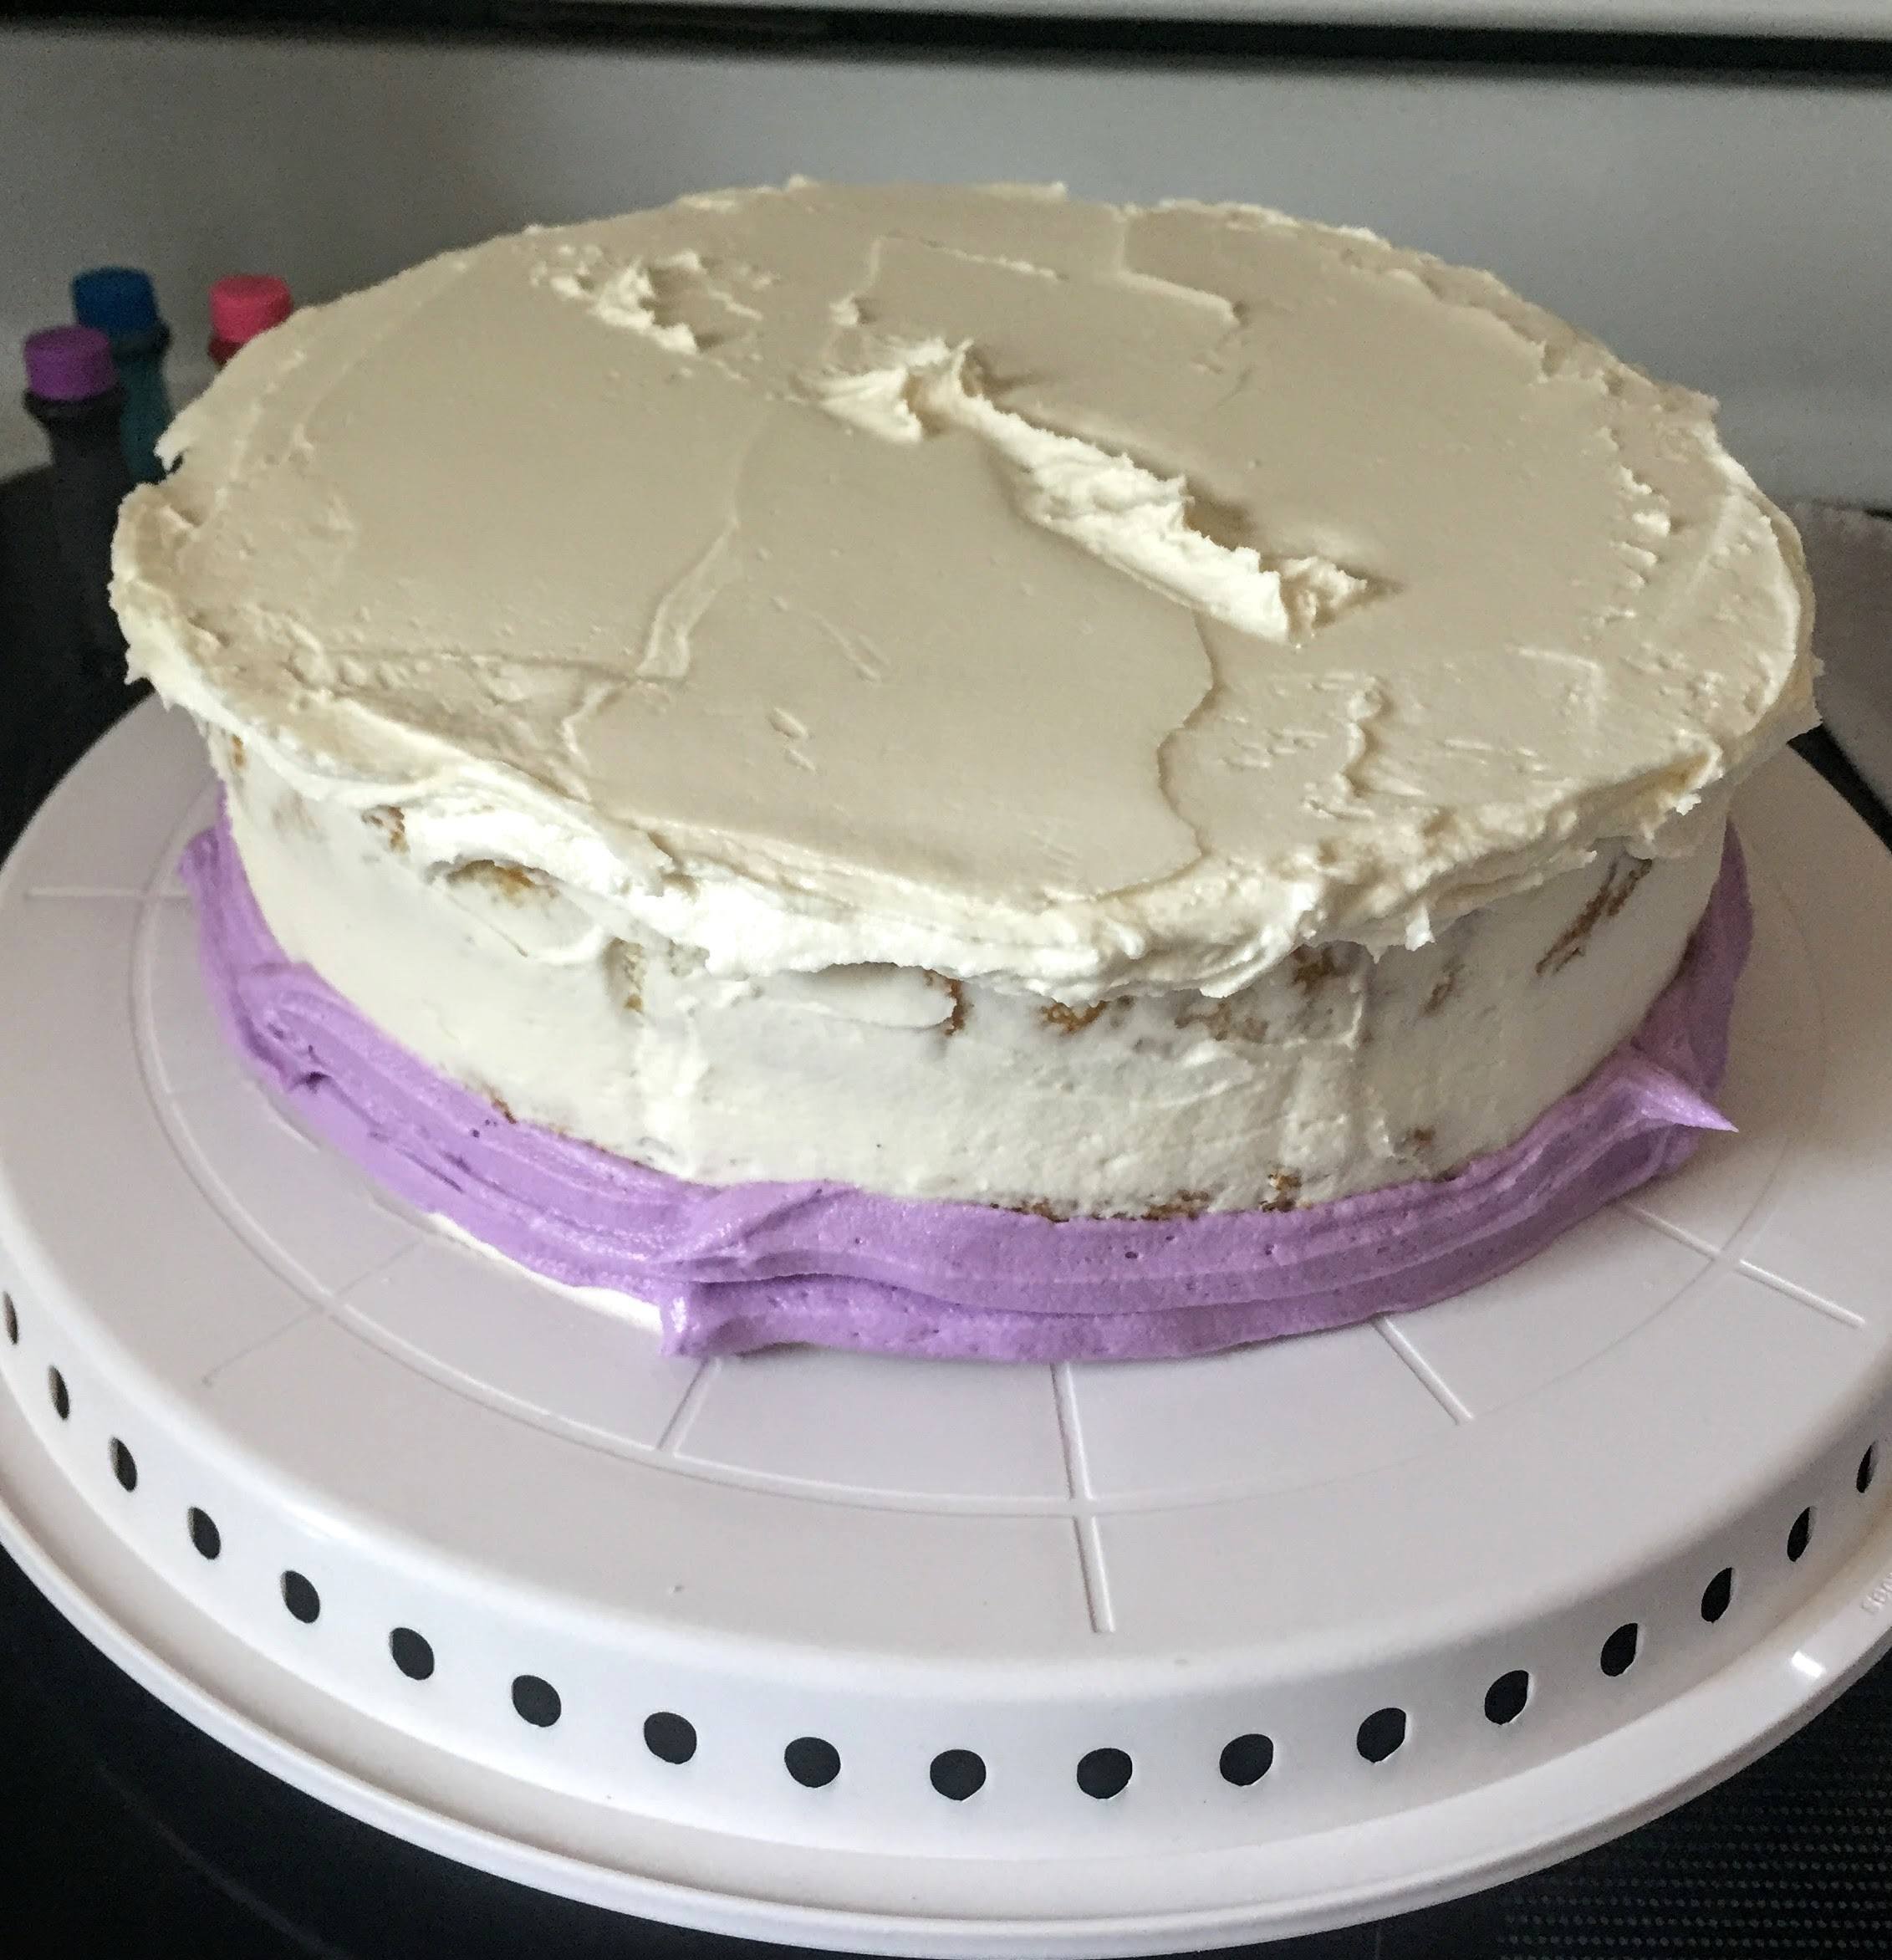
First, bake your layers. Then do a base coat of the frosting. I laid that mug on thick.
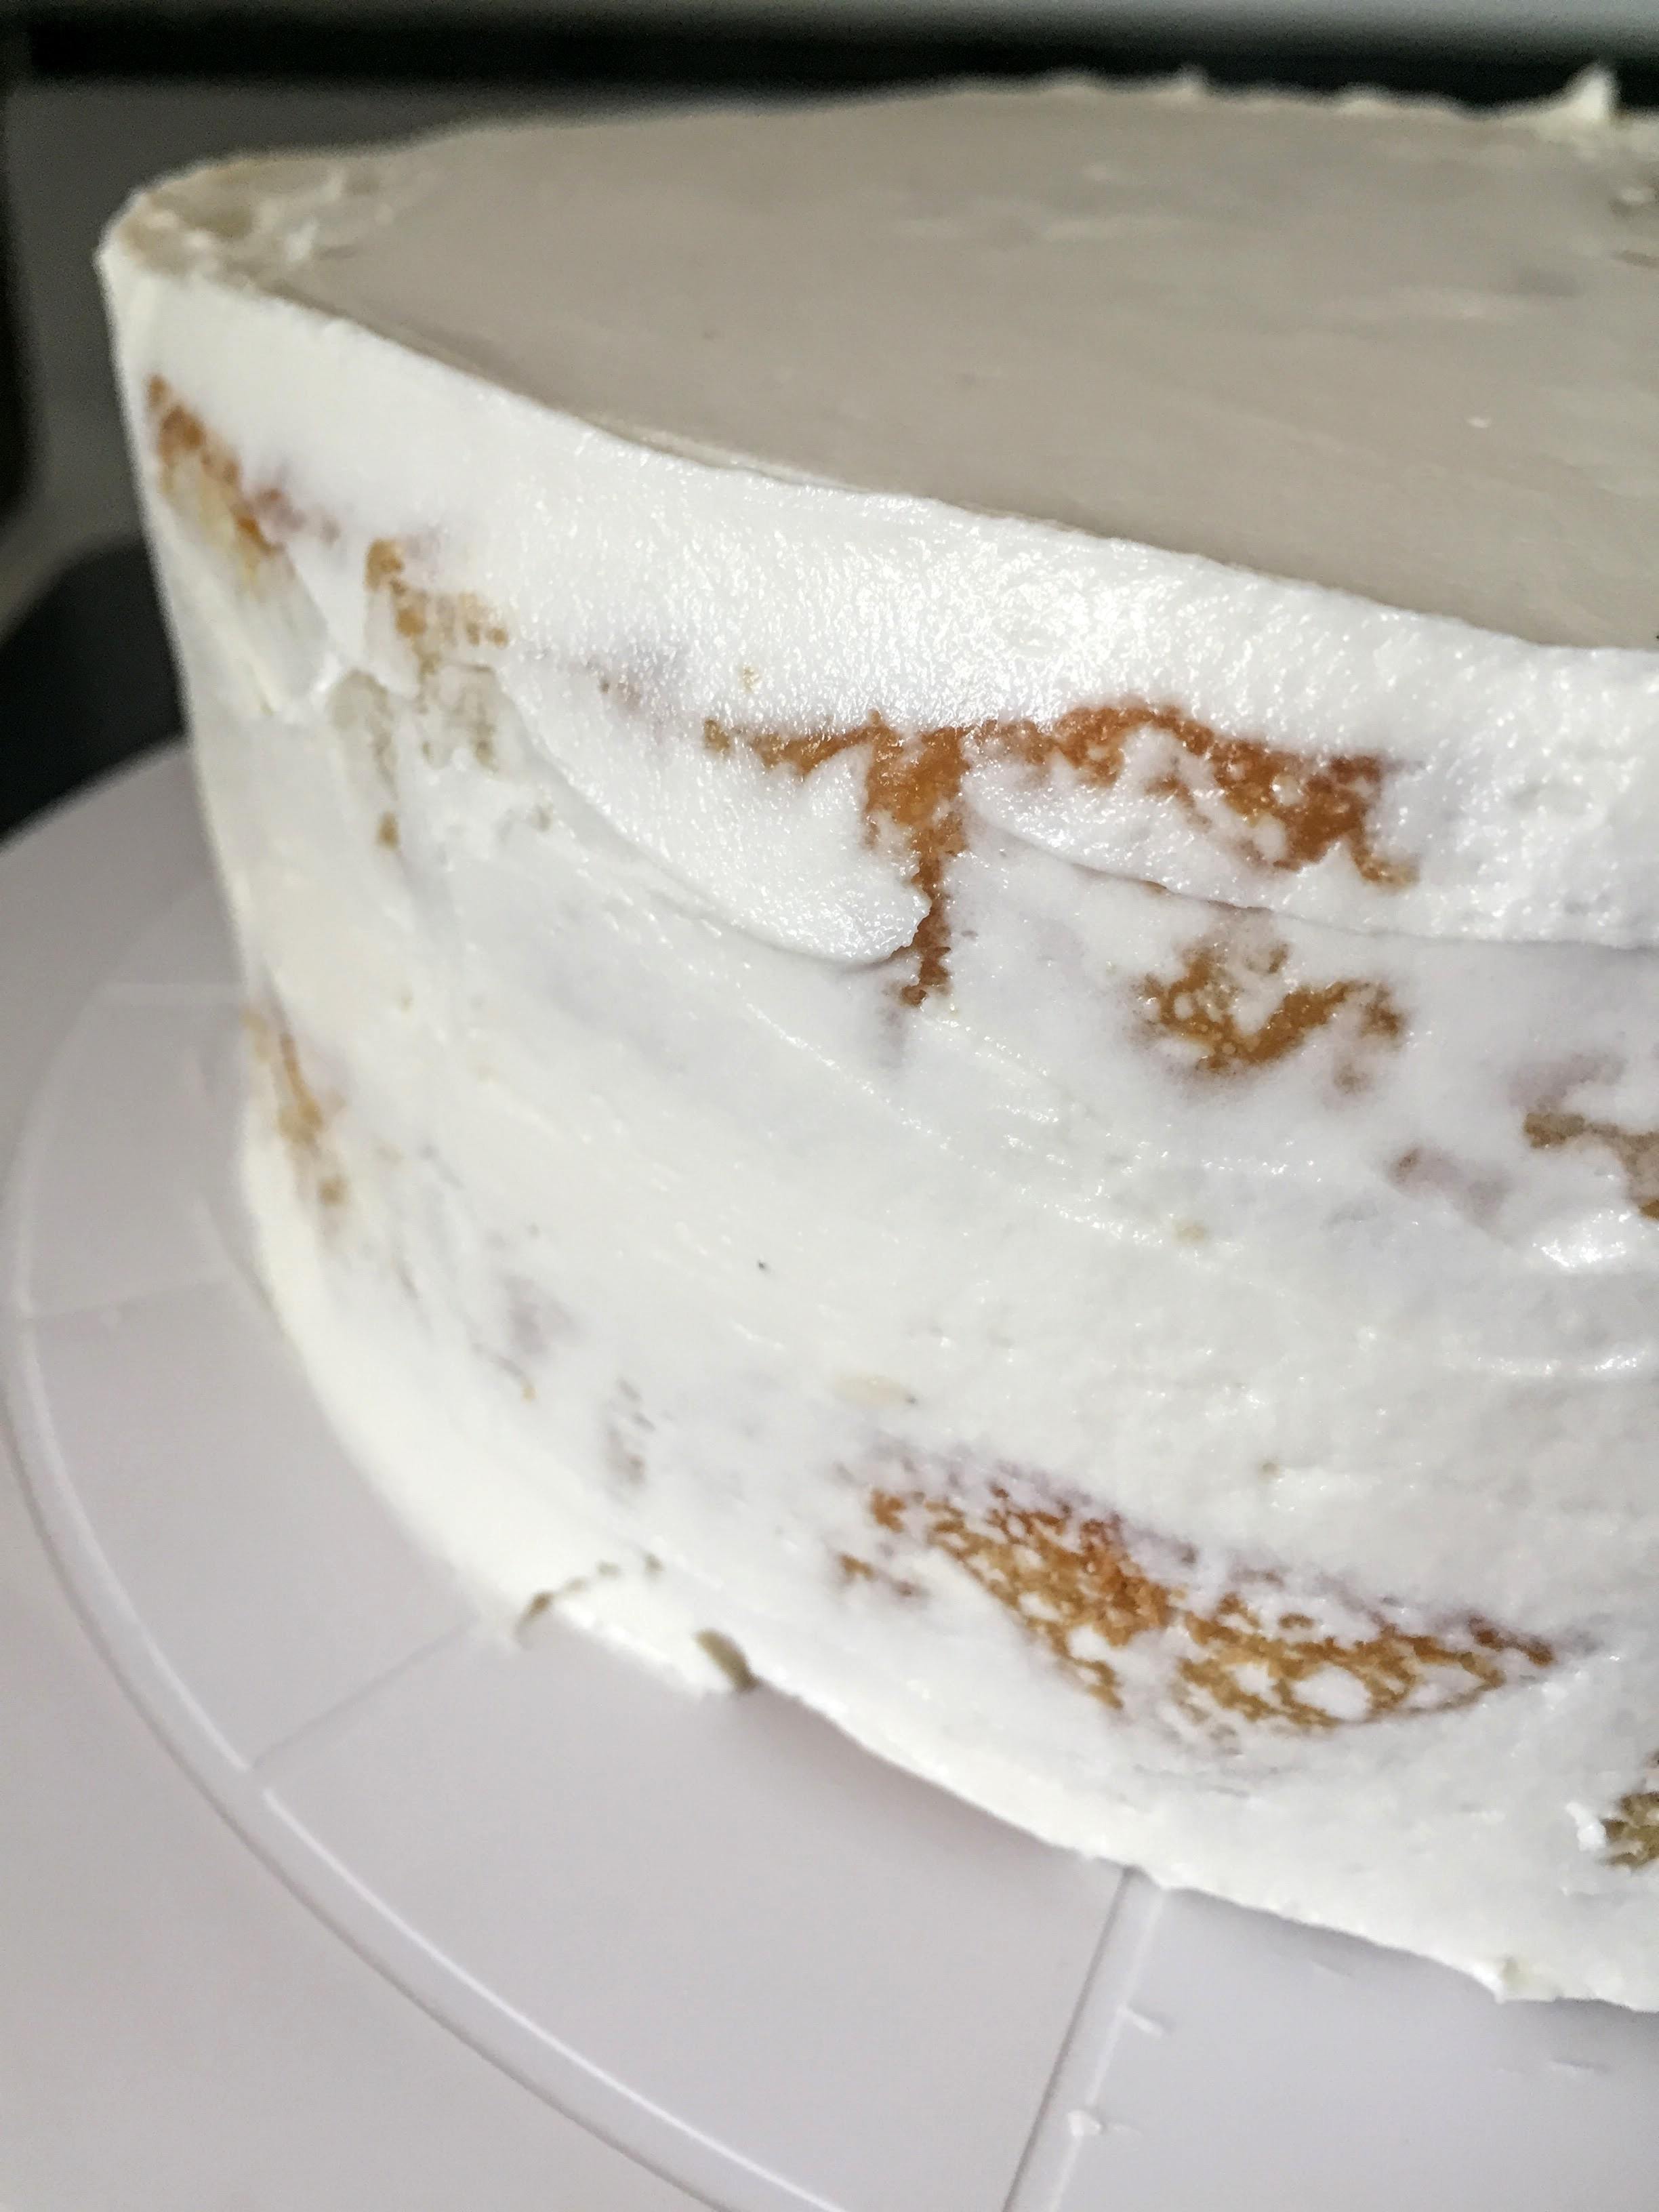
Crumb coat

Frost the top of the cake so that some icing hangs slightly over the edges.
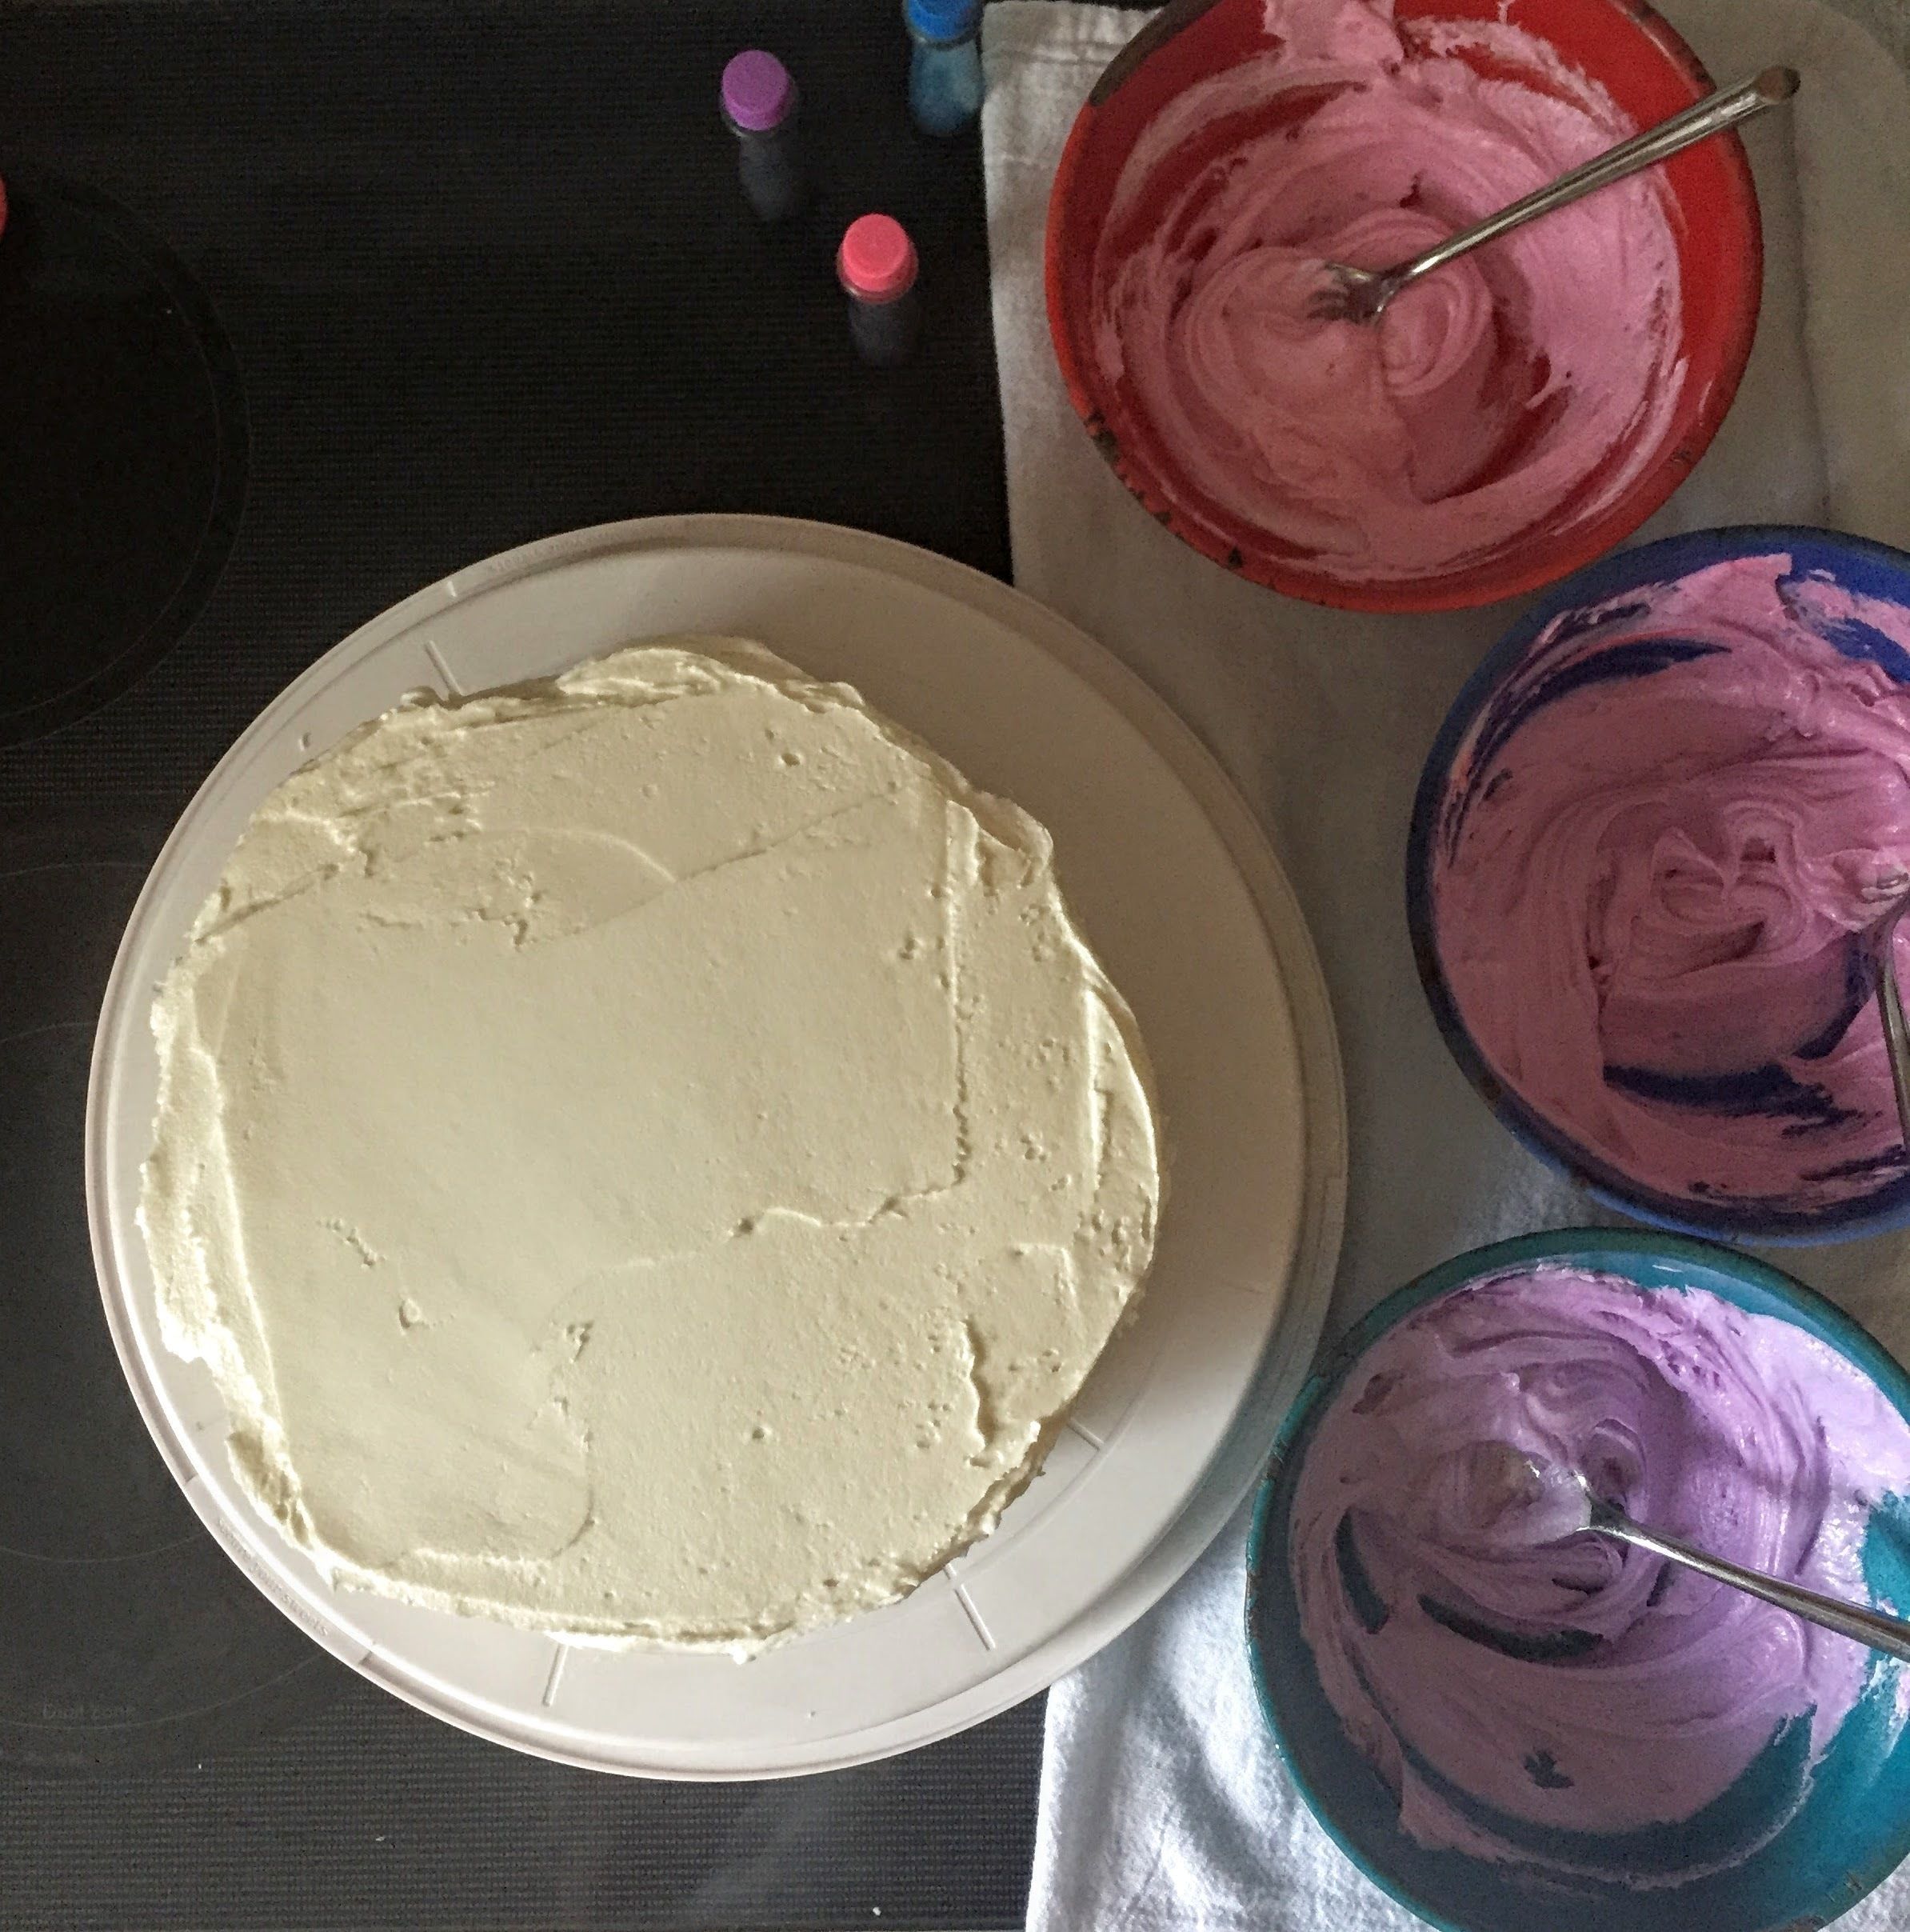
Make 3-4 colors of frosting, about 1/3-1/2 cup each. I made 1/2 cup of each color and had leftovers.
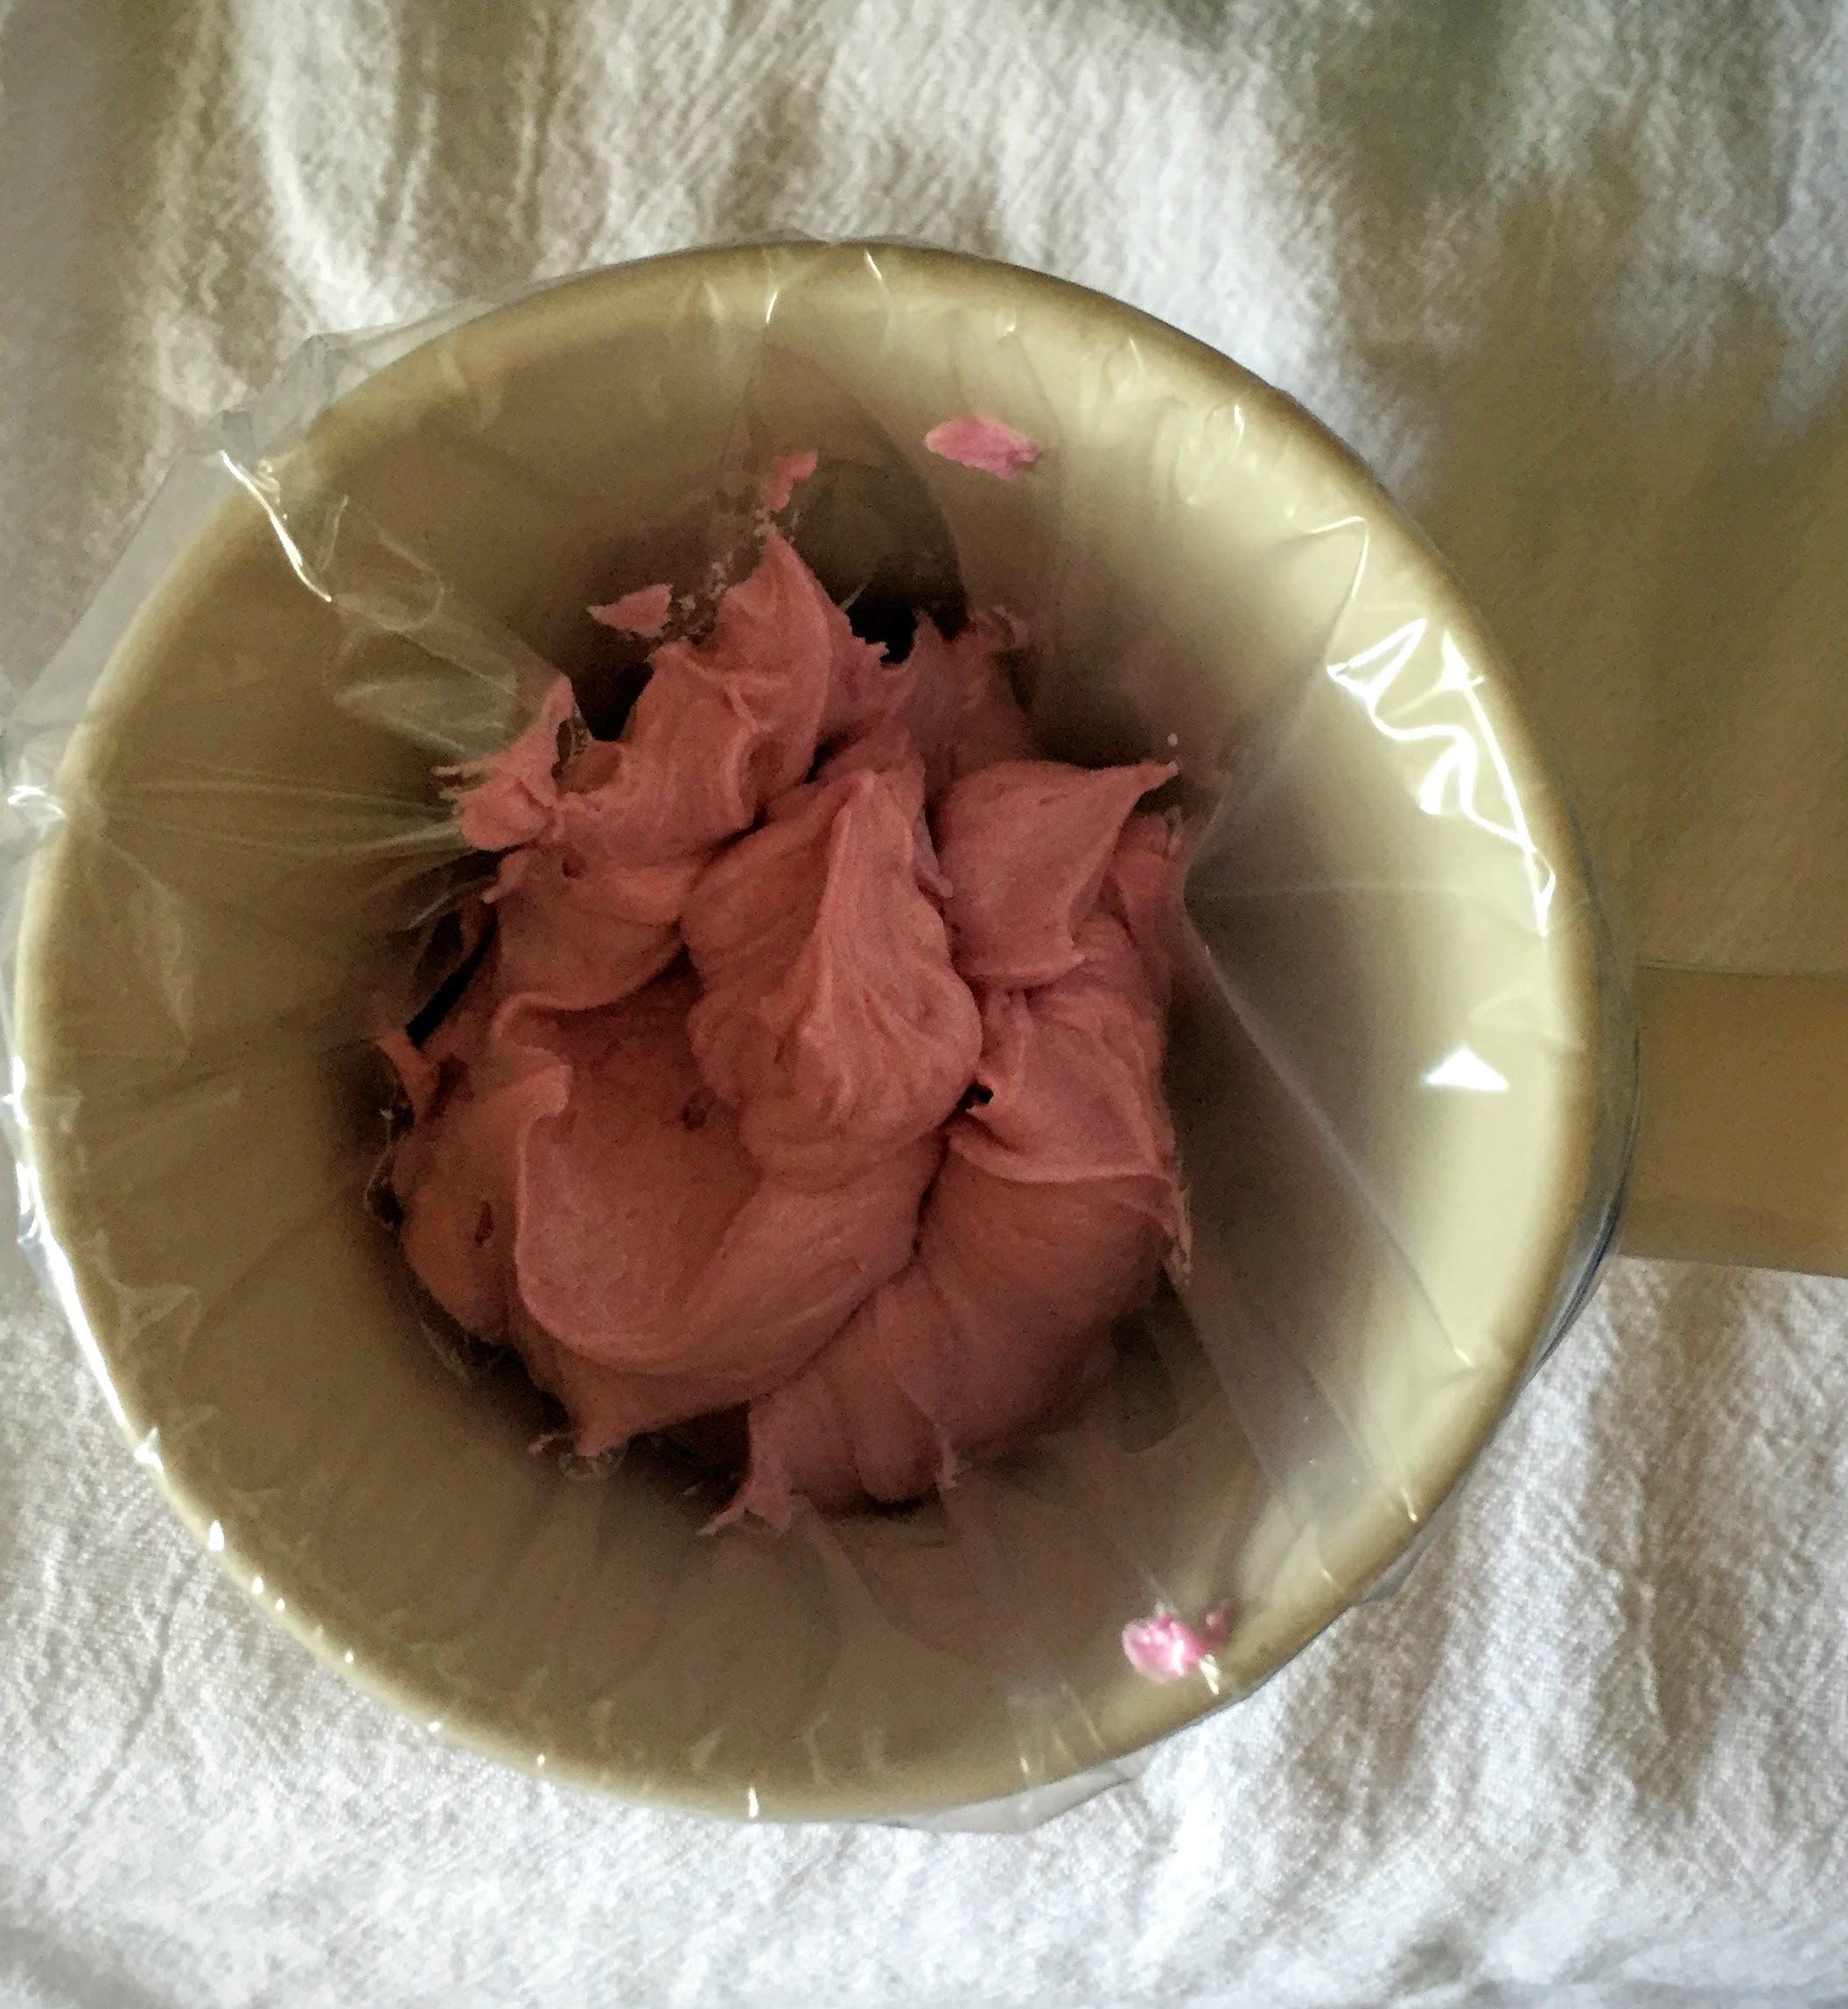
Fill a piping bag with the first color. I’ve had success using ziploc bags and cutting off the tip to make a piping bag. The bags are easiest to fill if you stretch them over a mug/cup and then fill.
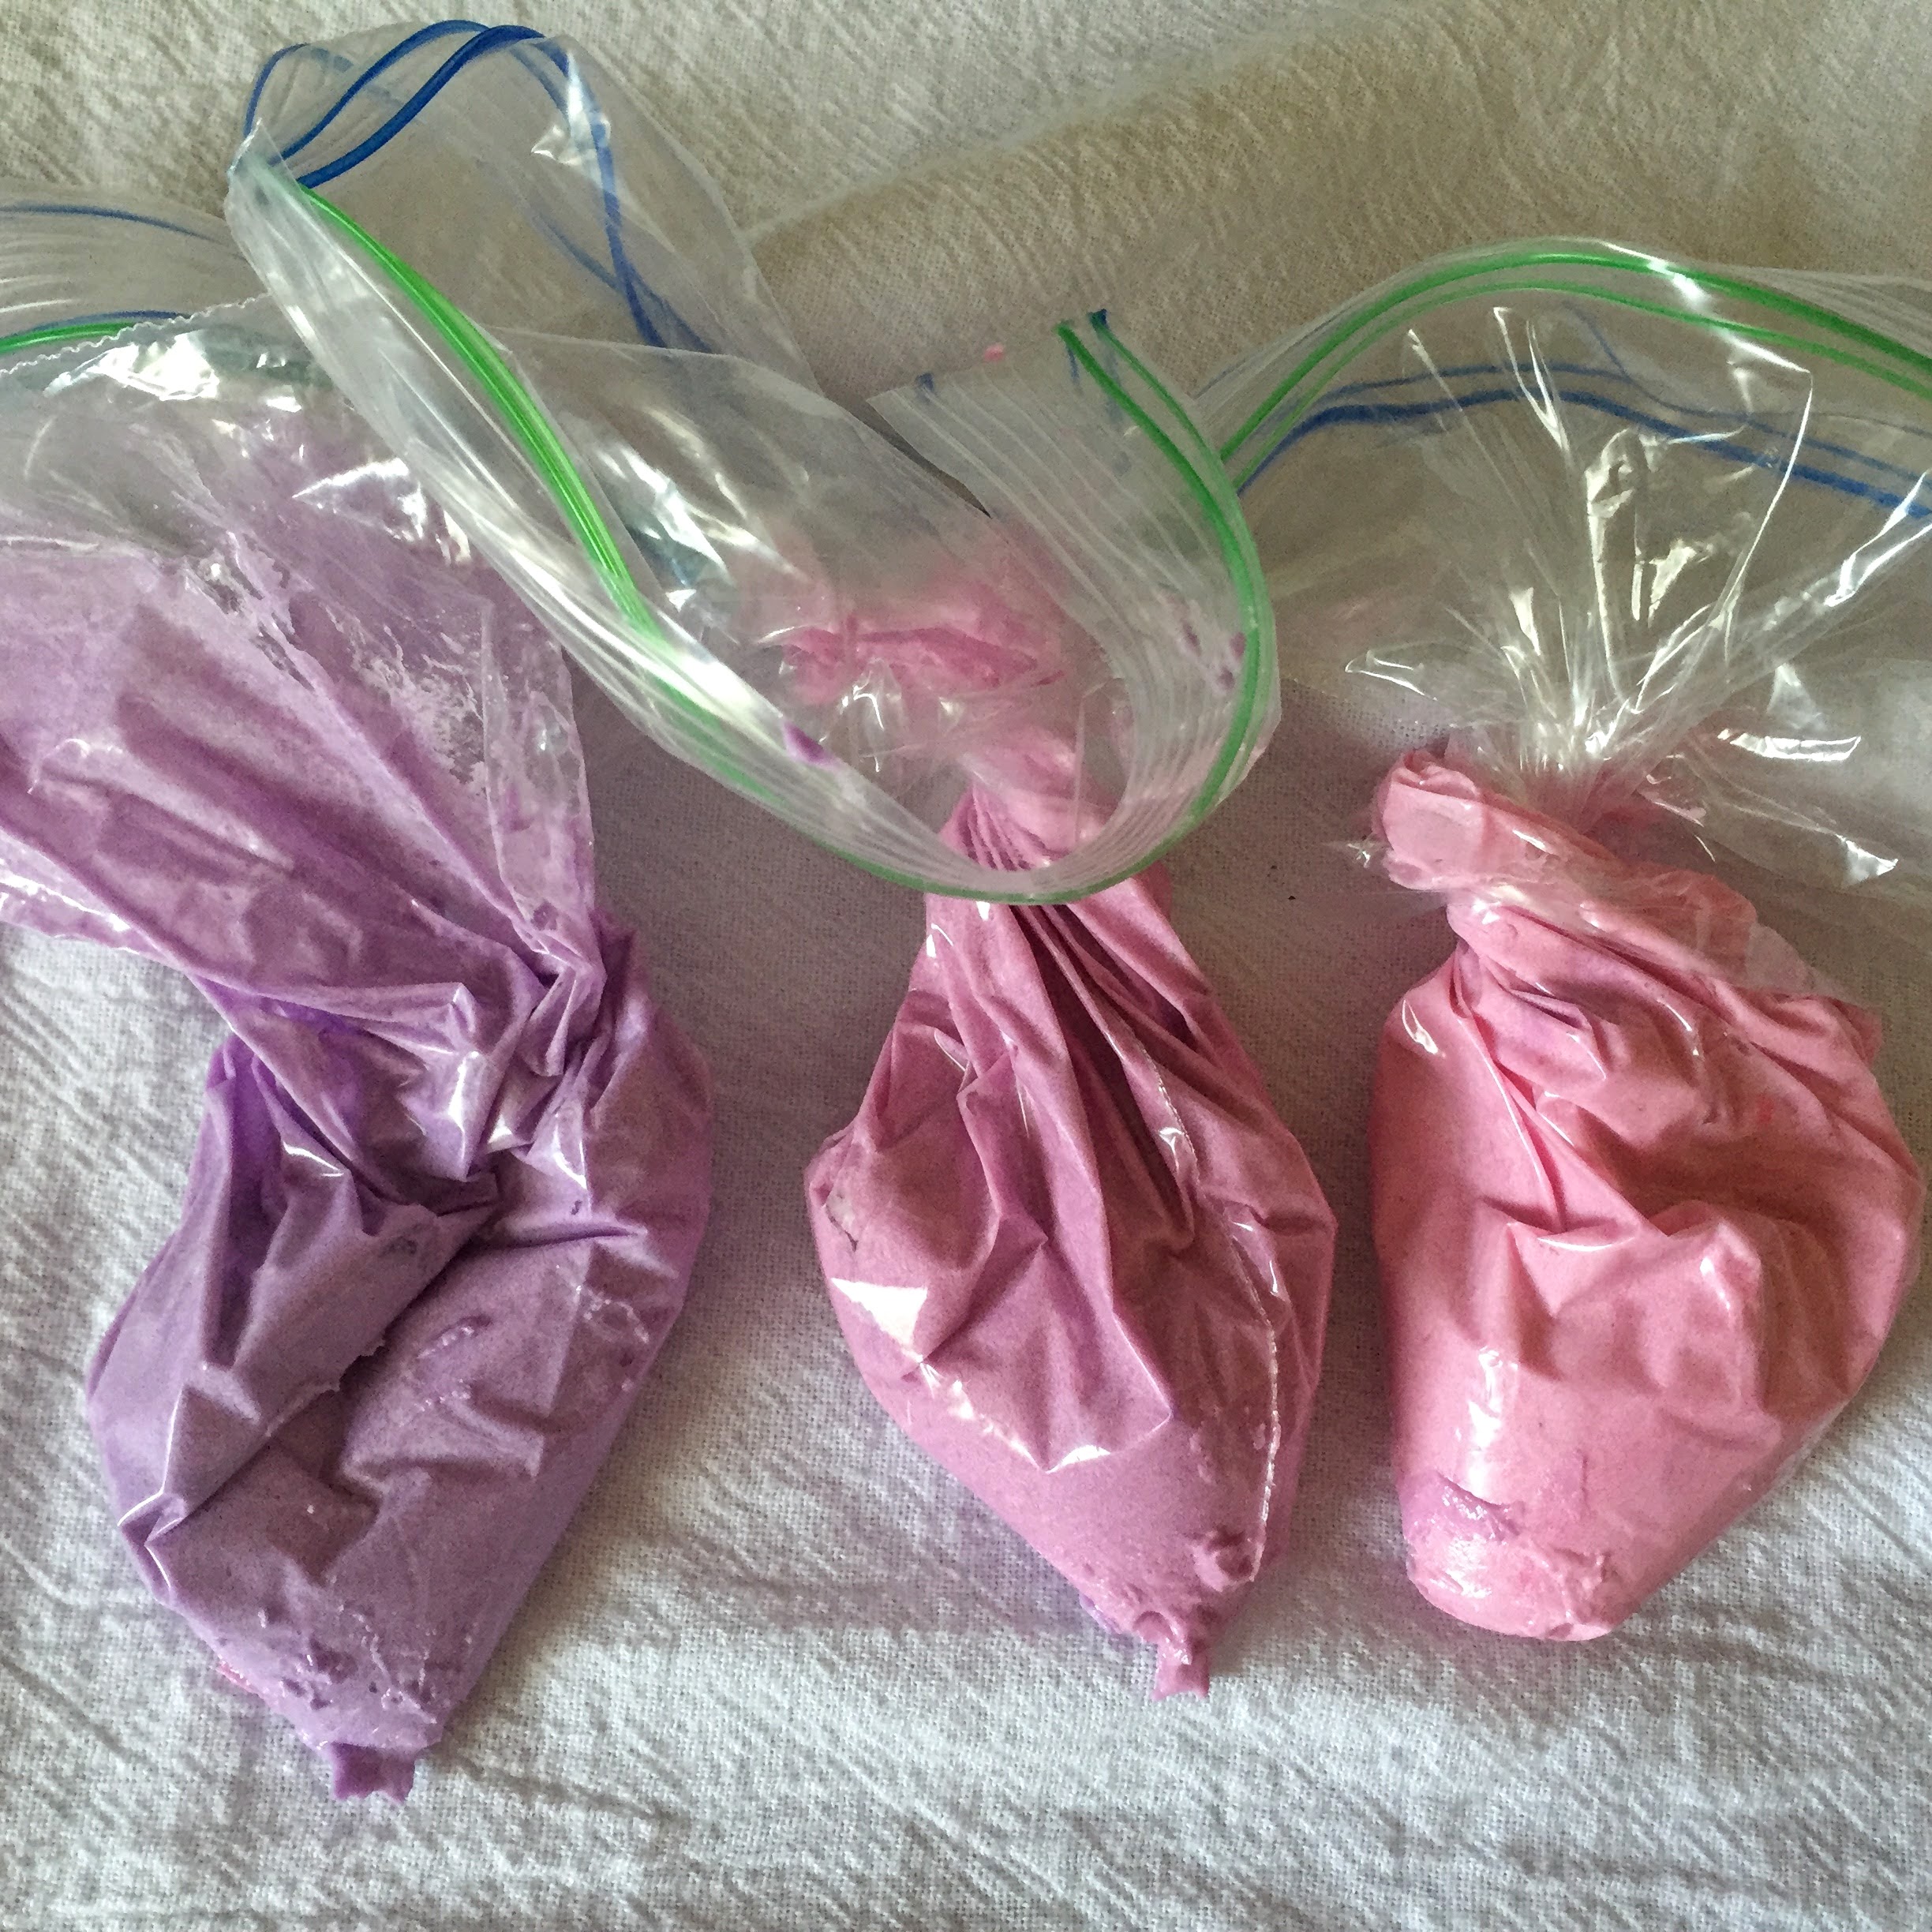
The piping bags! (This is what I had leftover.)
Pipe a line or two of your first color around the cake, starting at the bottom of the cake.
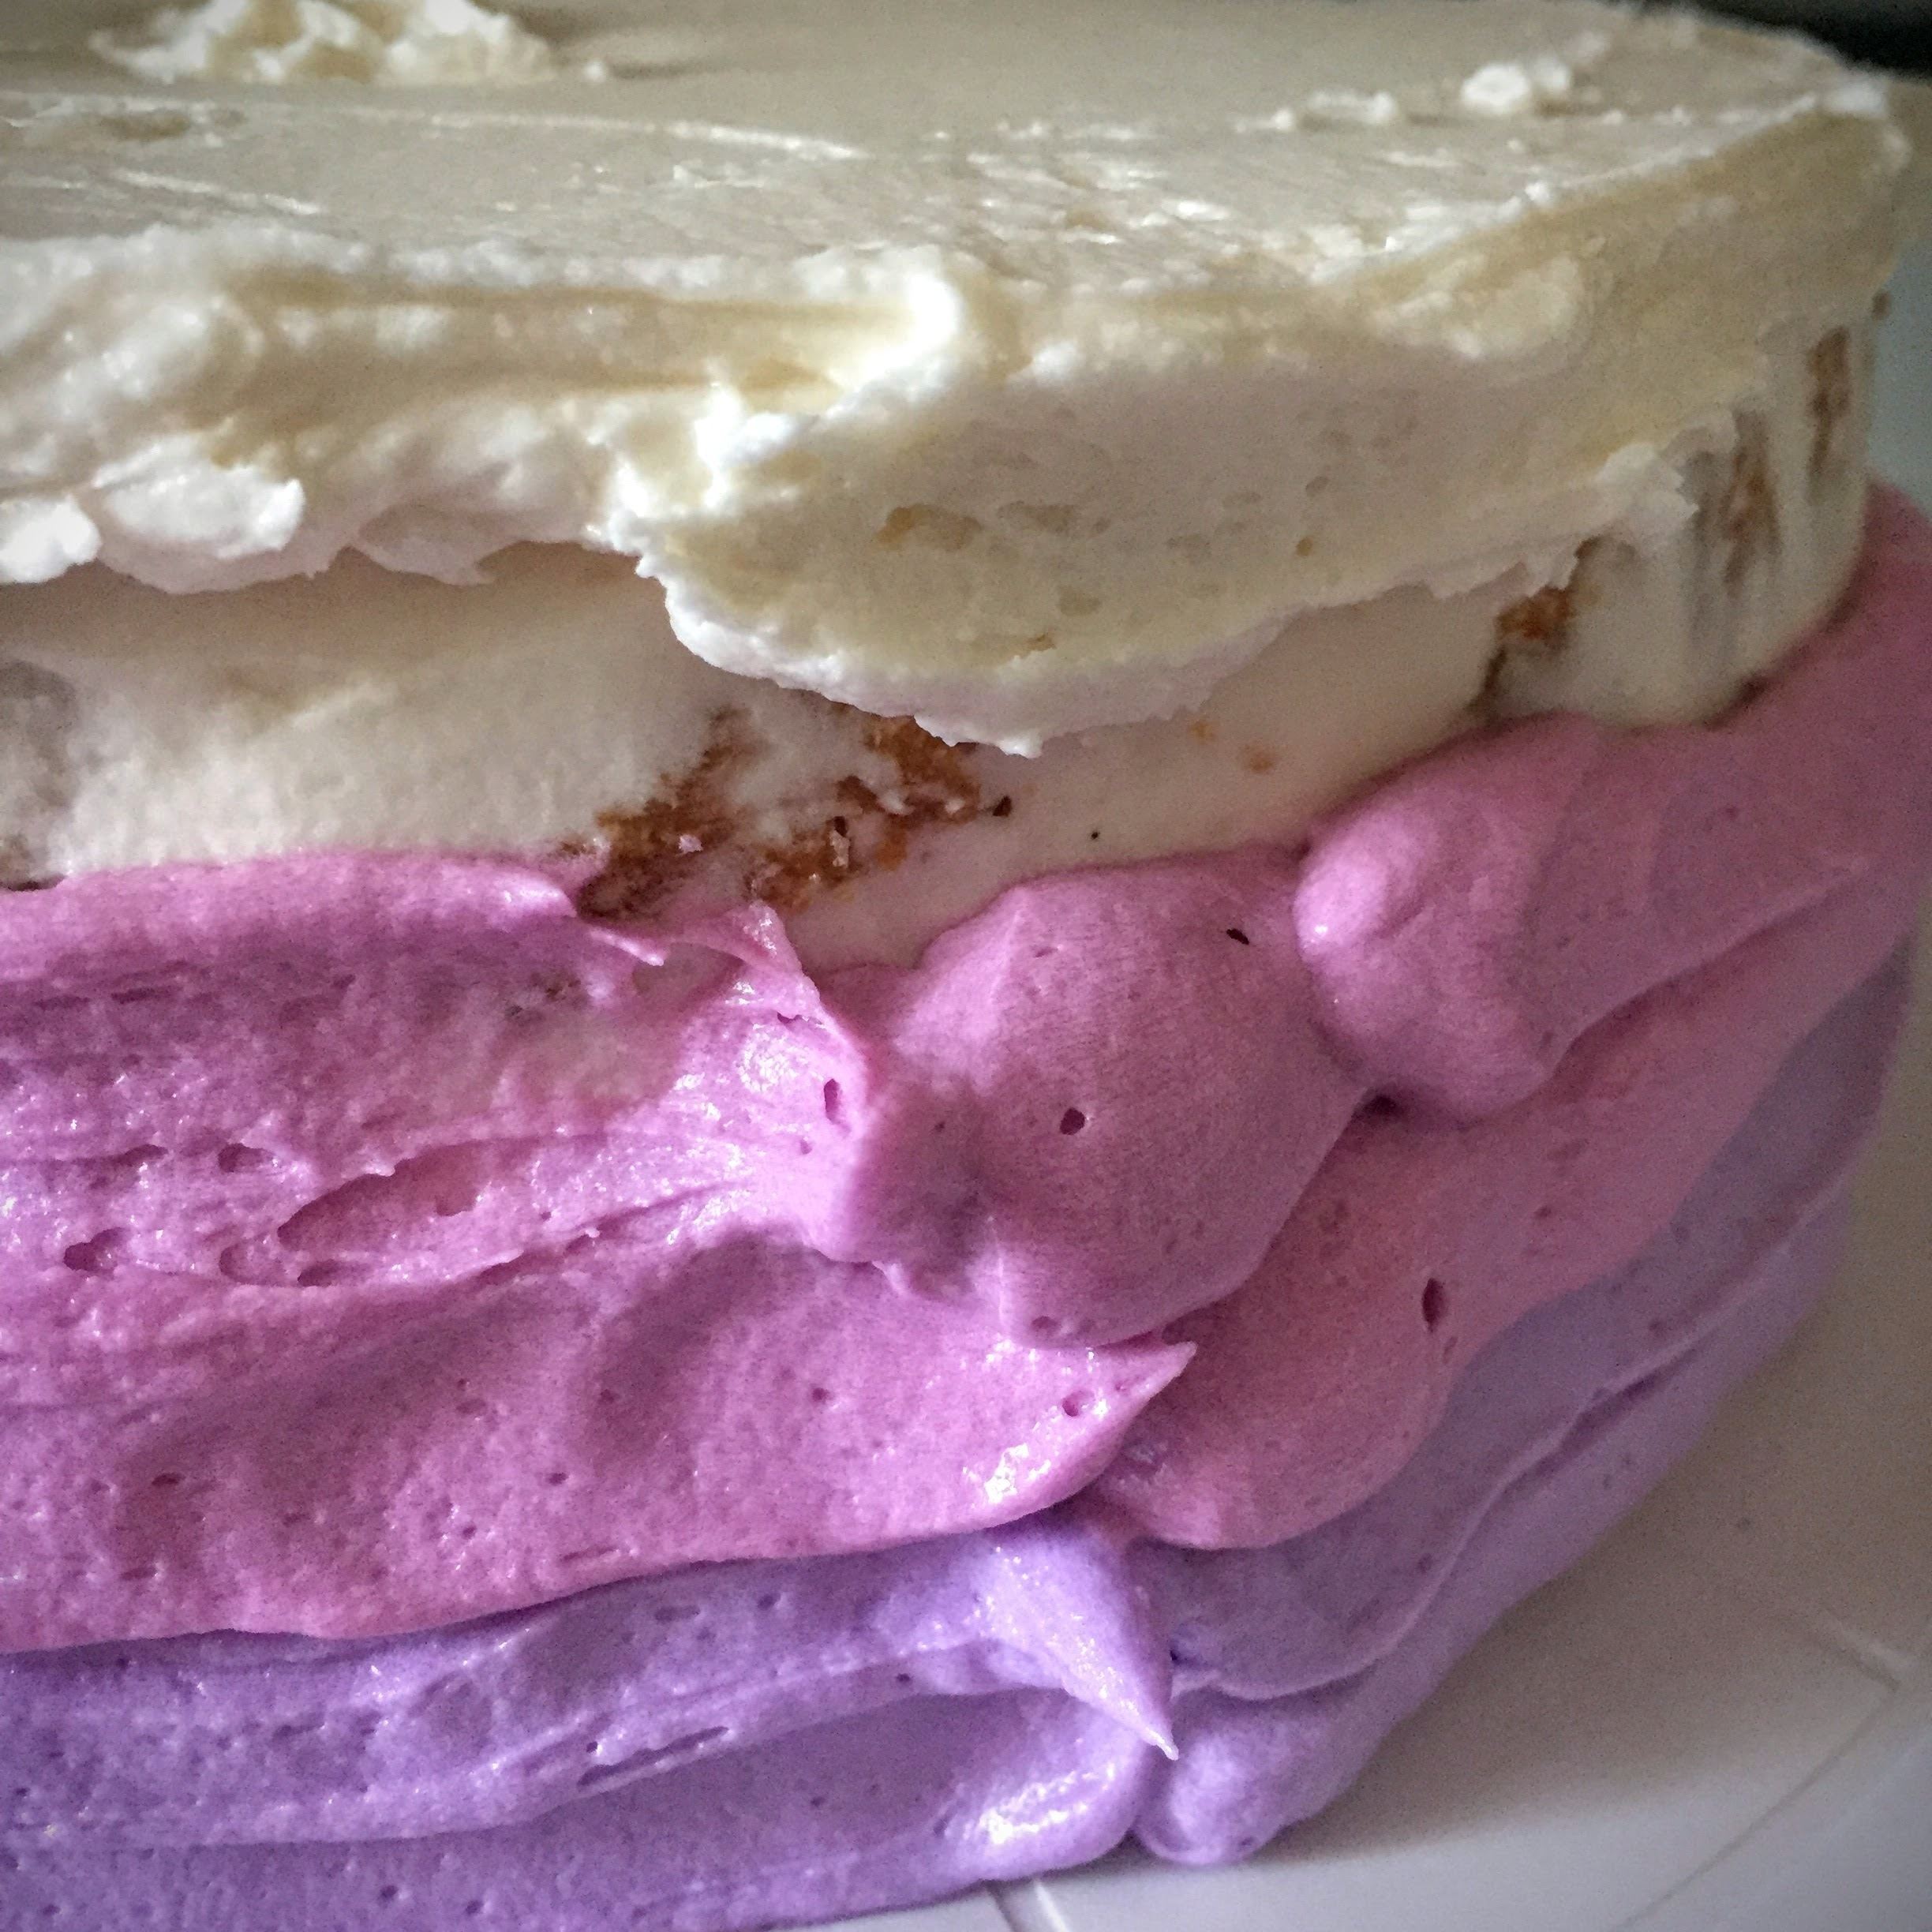
Pipe 1 or 2 lines of your second color around the cake.
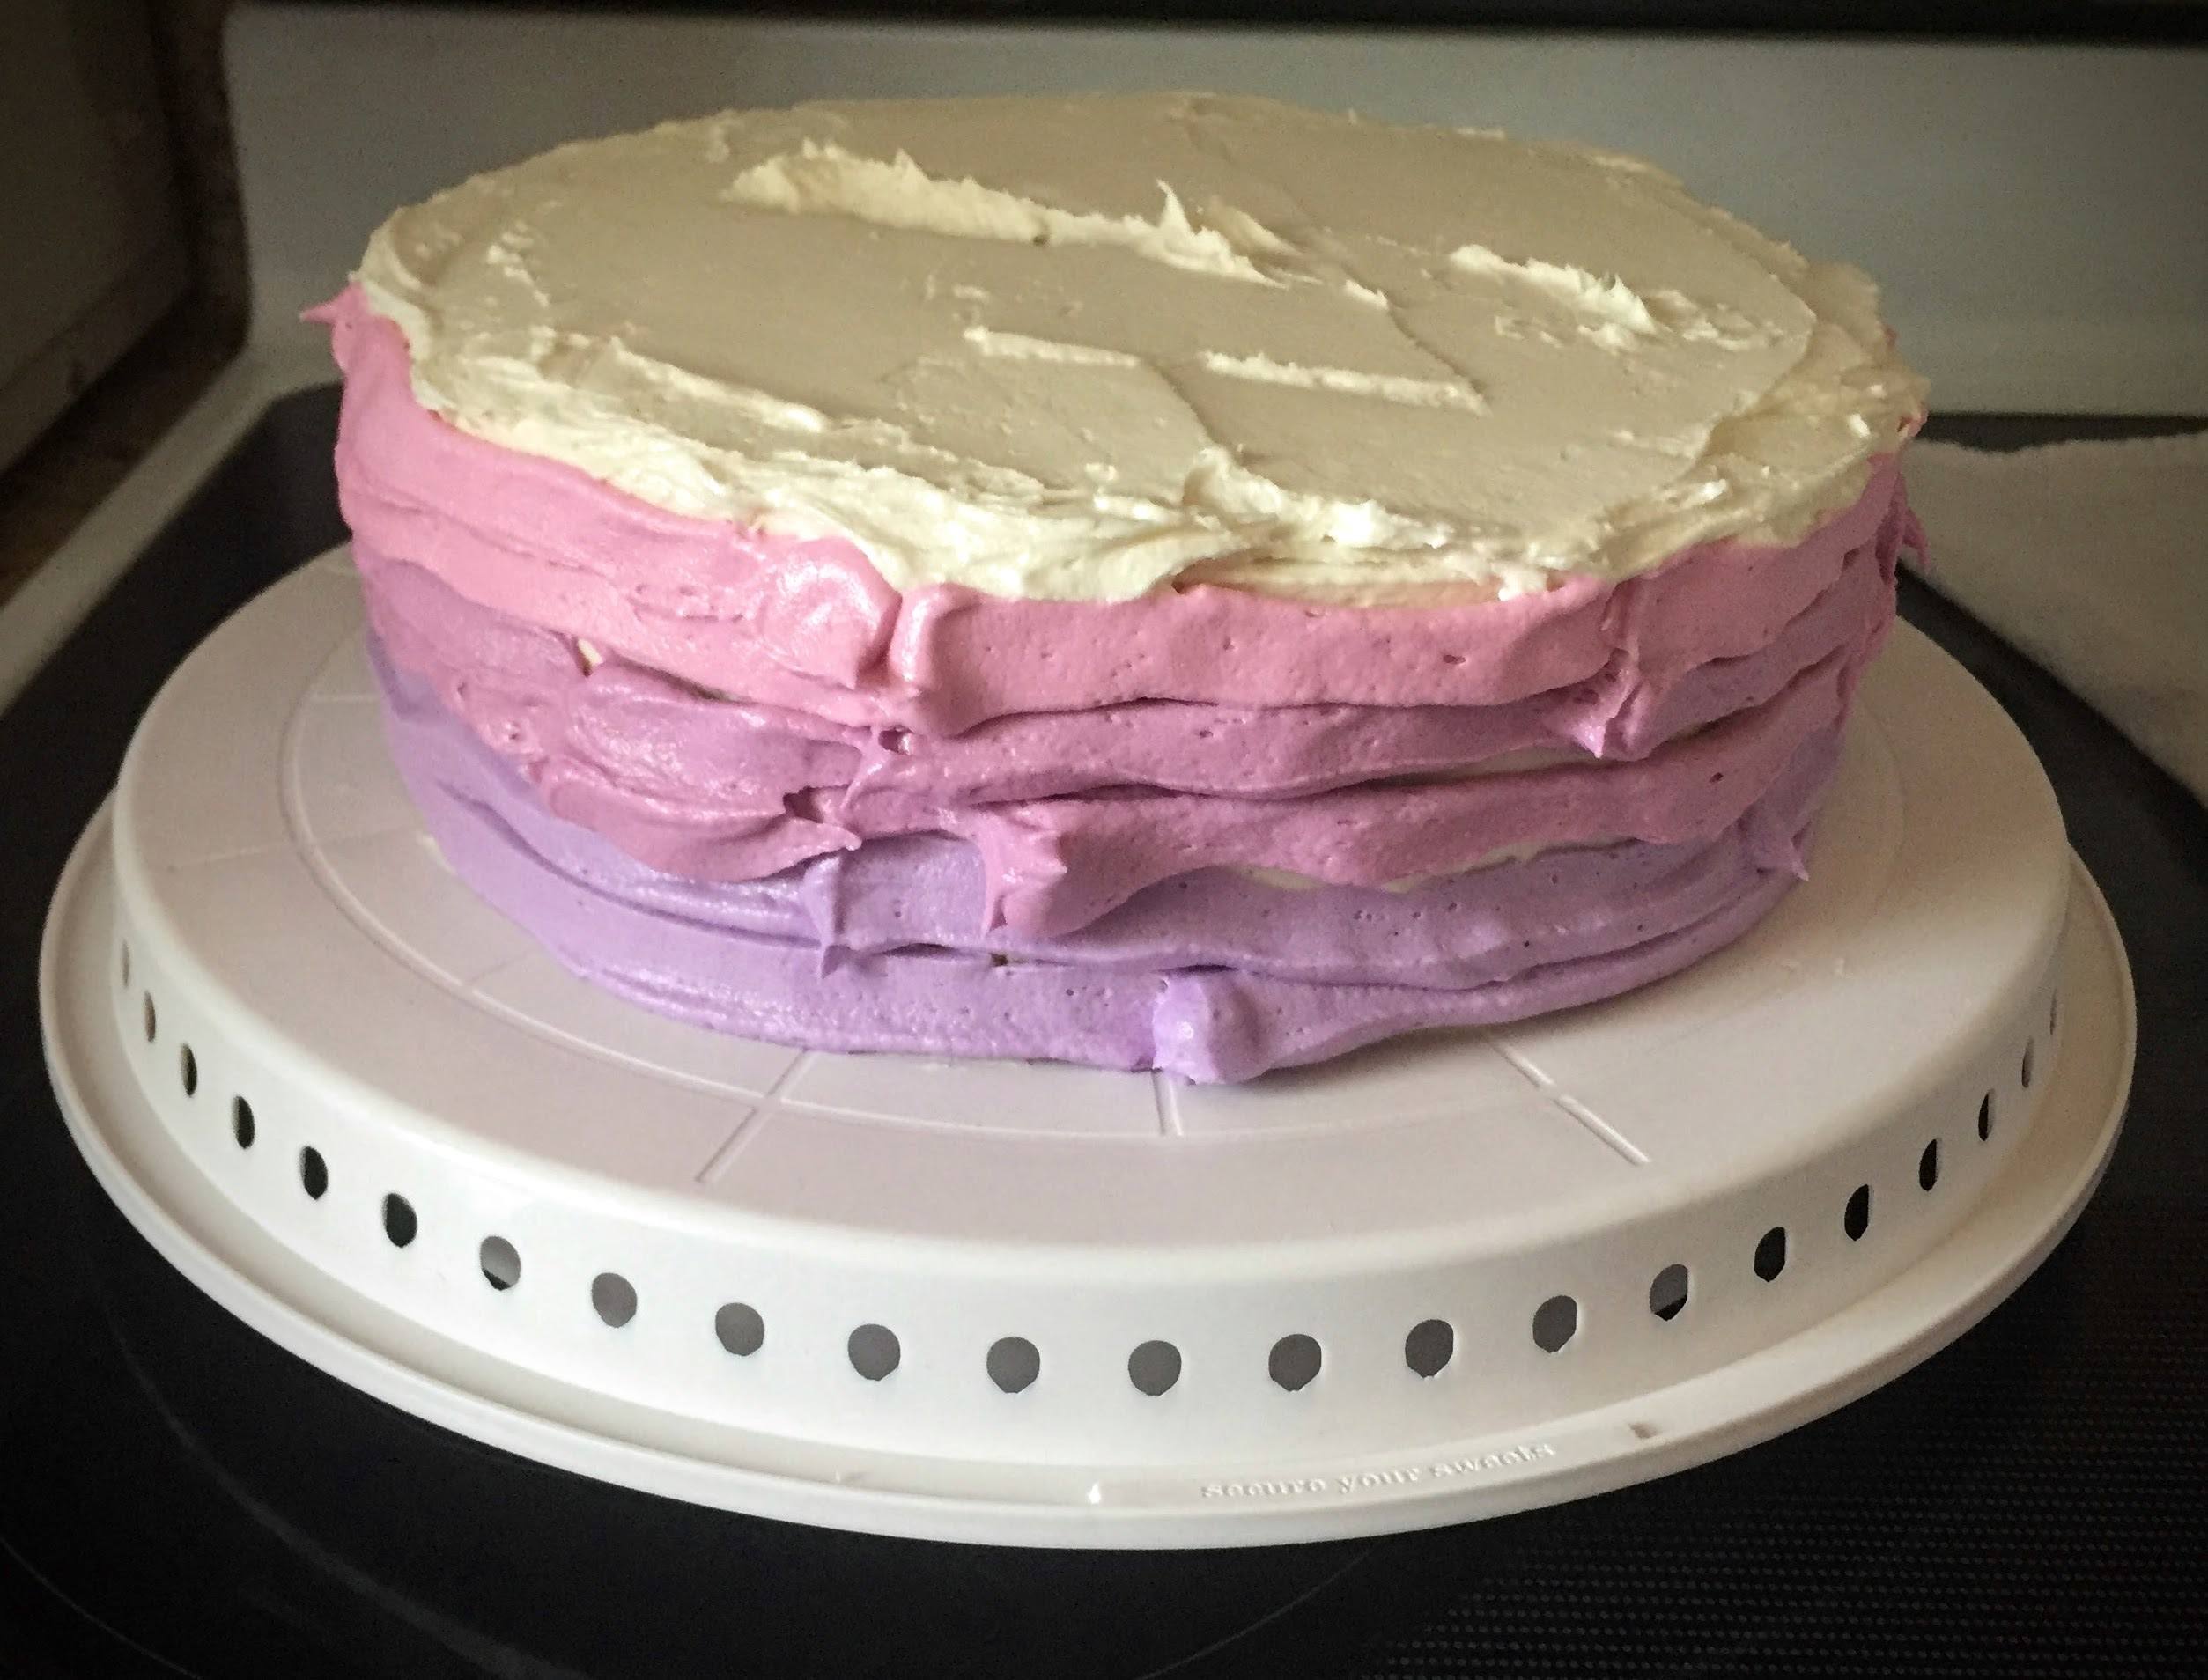
Finish with a final line or two of the remaining color of icing around the cake.
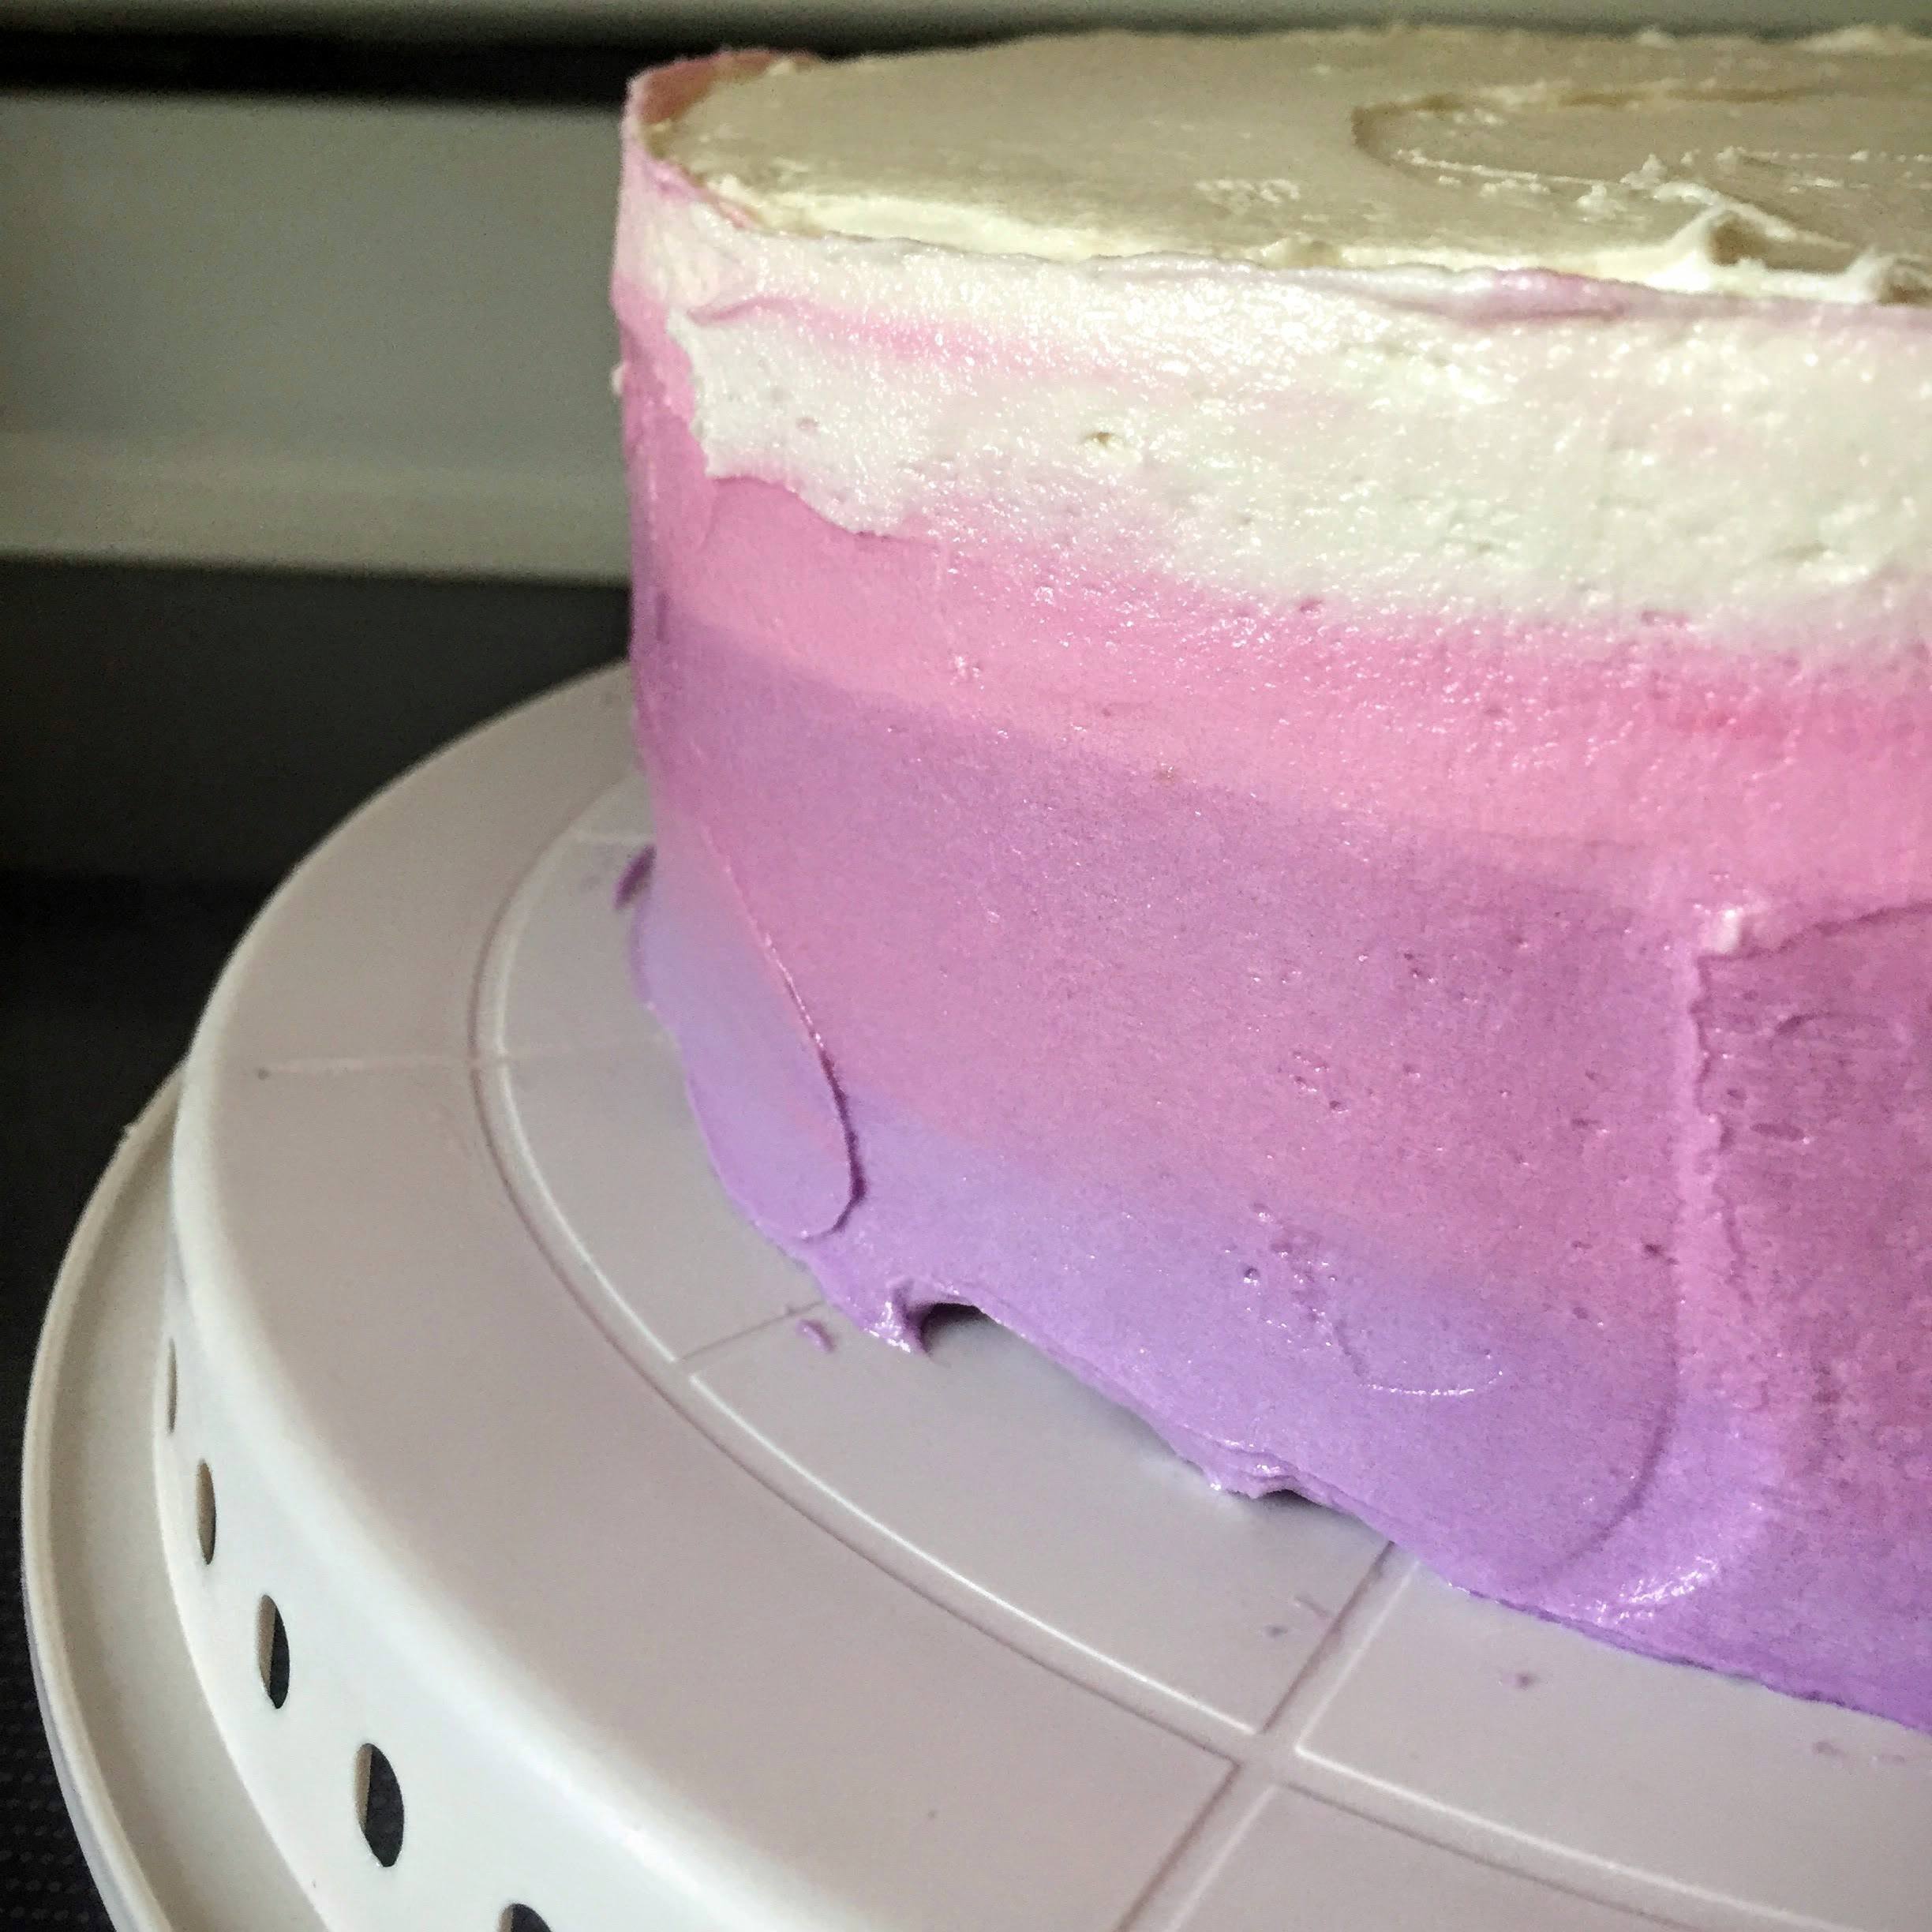
Here’s the stress-inducing part: using an icing spatula (mine was a 13″, and it was perfect for the job), slowly and evenly smooth the frosting along the sides of the cake, holding the spatula straight up and down. Slowly move your way around the cake, using the spatula to make the colors run together.
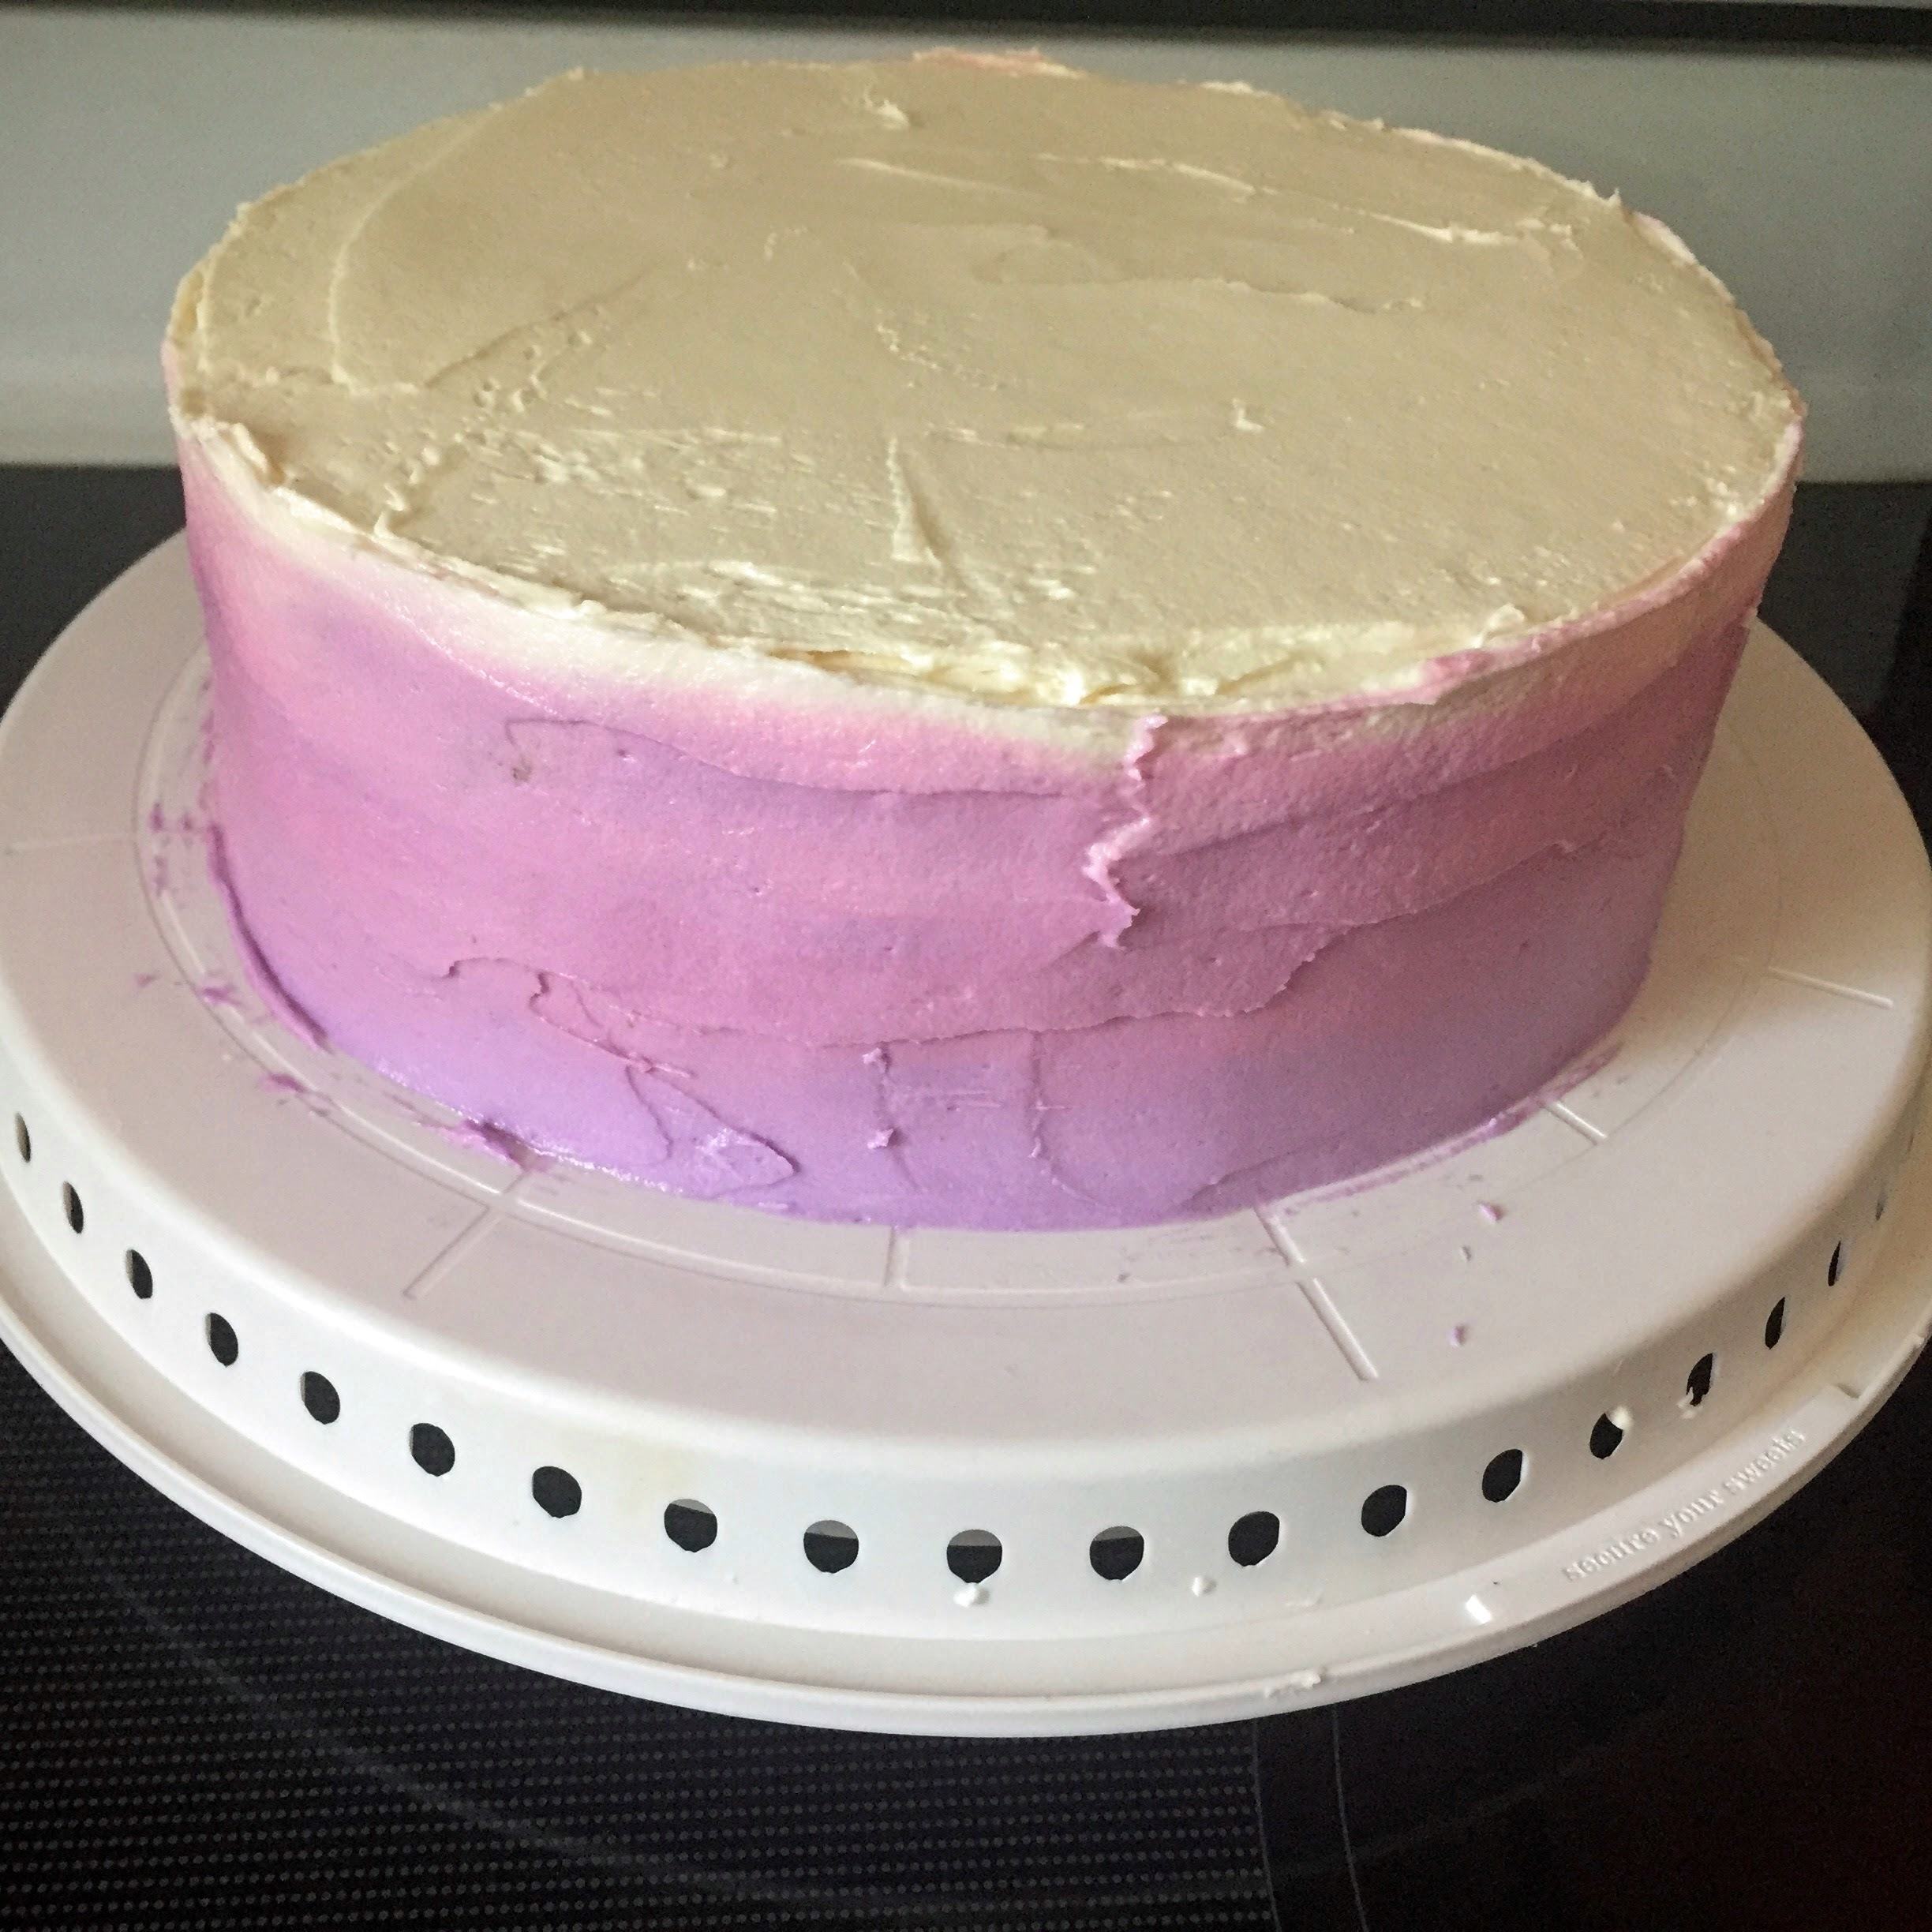
Continue to use the icing spatula to even out the layers of frosting, smoothing until the ombre is to your liking. Voila!
Credits to: Sally’s Baking Addiction: Yellow Cake Sally’s Baking Addiction: Vanilla Frosting, and Multiple readings of this tutorial
It’s awesome to see your process. Smart move filling the bags with the help of a mug! I tried piping a line then using a spatula then second line then spatula… didn’t come out nearly as pretty as this!
Thanks, Amanda! I’m glad this was a helpful post! All of the tips & tricks here are ones I’ve found around on the internet and just stole for my own use ;). Let me know how making an ombre cake goes next time you try (because you should)!