-
This post is going to involve lots of confessions.
- Prep Time: 30m
- Cook Time: 1h
- Total Time: 1h 30m
- Serves: 12
- Yield: 1 large cake
- 1/4 cup unsalted butter, softened to room temperature
- 1 cup granulated sugar
- 1/2 cup canola or vegetable oil
- 2 large eggs, at room temperature and separated
- 3/4 tablespoon vanilla extract
- 1 1/2 cups cake flour
- 1/2 teaspoon baking soda
- 1 tablespoon unsweetened cocoa powder
- 1/4 teaspoon salt
- 1/2 teaspoon distilled white vinegar
- liquid or gel red food coloring
- 1/2 cup buttermilk, room temperature
- 16 ounces cream cheese, softened to room temperature
- 3/4 cup granulated sugar
- 1/4 cup plain yogurt (I used Greek nonfat)
- 1 teaspoon vanilla extract
- 1 tablespoon purpose flour
- 3 large eggs, at room temperature
- 4 ounces cream cheese, softened to room temperature
- 2 tablespoons unsalted butter, softened to room temperature
- 2 cups confectioners\' sugar
- 1 teaspoon vanilla extract
- 1/8 teaspoon salt
- Beat the cream cheese and sugar together on medium high speed for 2-3 minutes or until smooth and fluffy.
- Beat in yogurt or sour cream, vanilla, and flour until evenly distributed.
- Add in eggs one at a time, mixing them in on medium low until each egg is mixed into the batter. Set cheesecake mixture aside.
- Wrap foil around the bottom and sides of the springform pan, and spray the inside of the pan with nonstick spray. Sprinkle in 1-2 tablespoons of white sugar and move the pan around so the sugar sticks to the spray and coats the pan. Preheat the oven to 350 degrees.
- Separate the eggs, and then beat the eggs with a mixer and the whisk attachment until thick and foamy, about 2-3 minutes. Set aside the egg whites.
- In a large bowl, mix the dry ingredients together (flour, cocoa powder, salt, baking soda). Set aside.
- In a mixing bowl with the paddle attachment, beat butter on medium speed until creamy, about 1 minute. Add in the sugar and beat on high for 2 minutes until creamed. Mix in the oil and beat on high for 2 more minutes.
- Mix in the egg yolks and vanilla on medium until combined. Then add in the vinegar and food coloring. I used a few large squirts of red gel food coloring.
- With the mixer on low, alternate between adding the buttermilk and the dry ingredients, mixing gently between each addition. Fold in the egg whites until combined, but do not overmix.
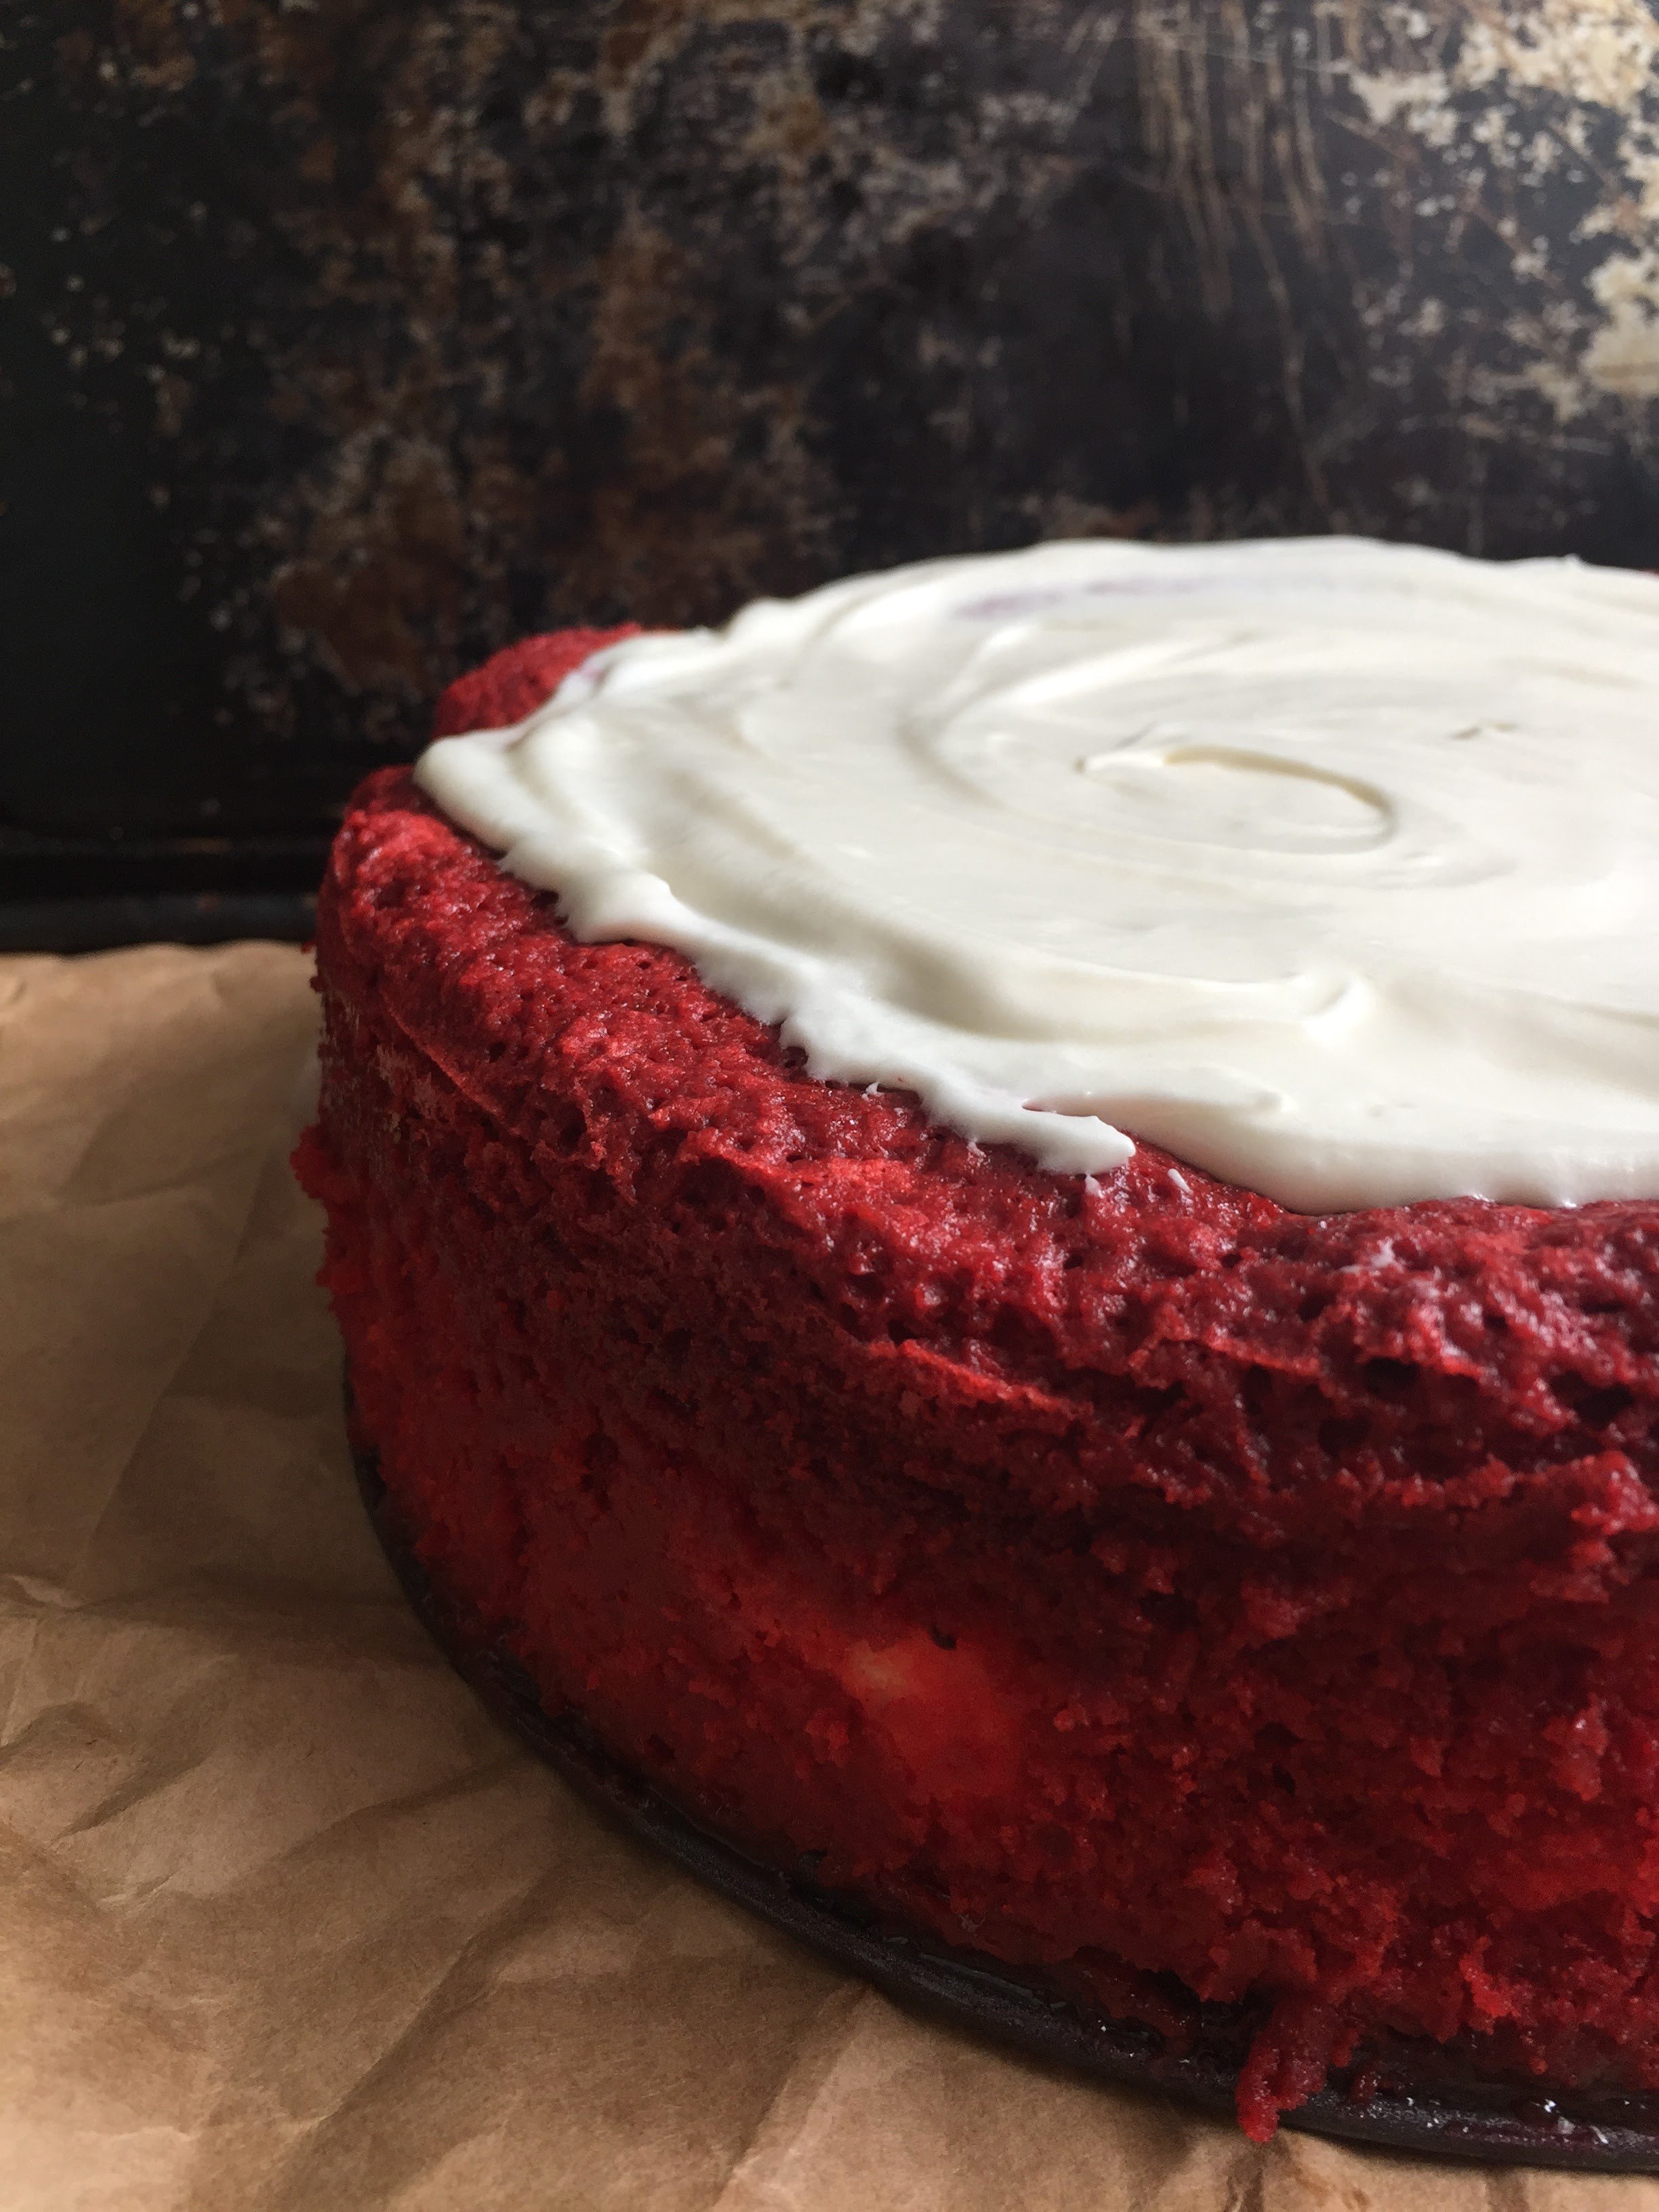
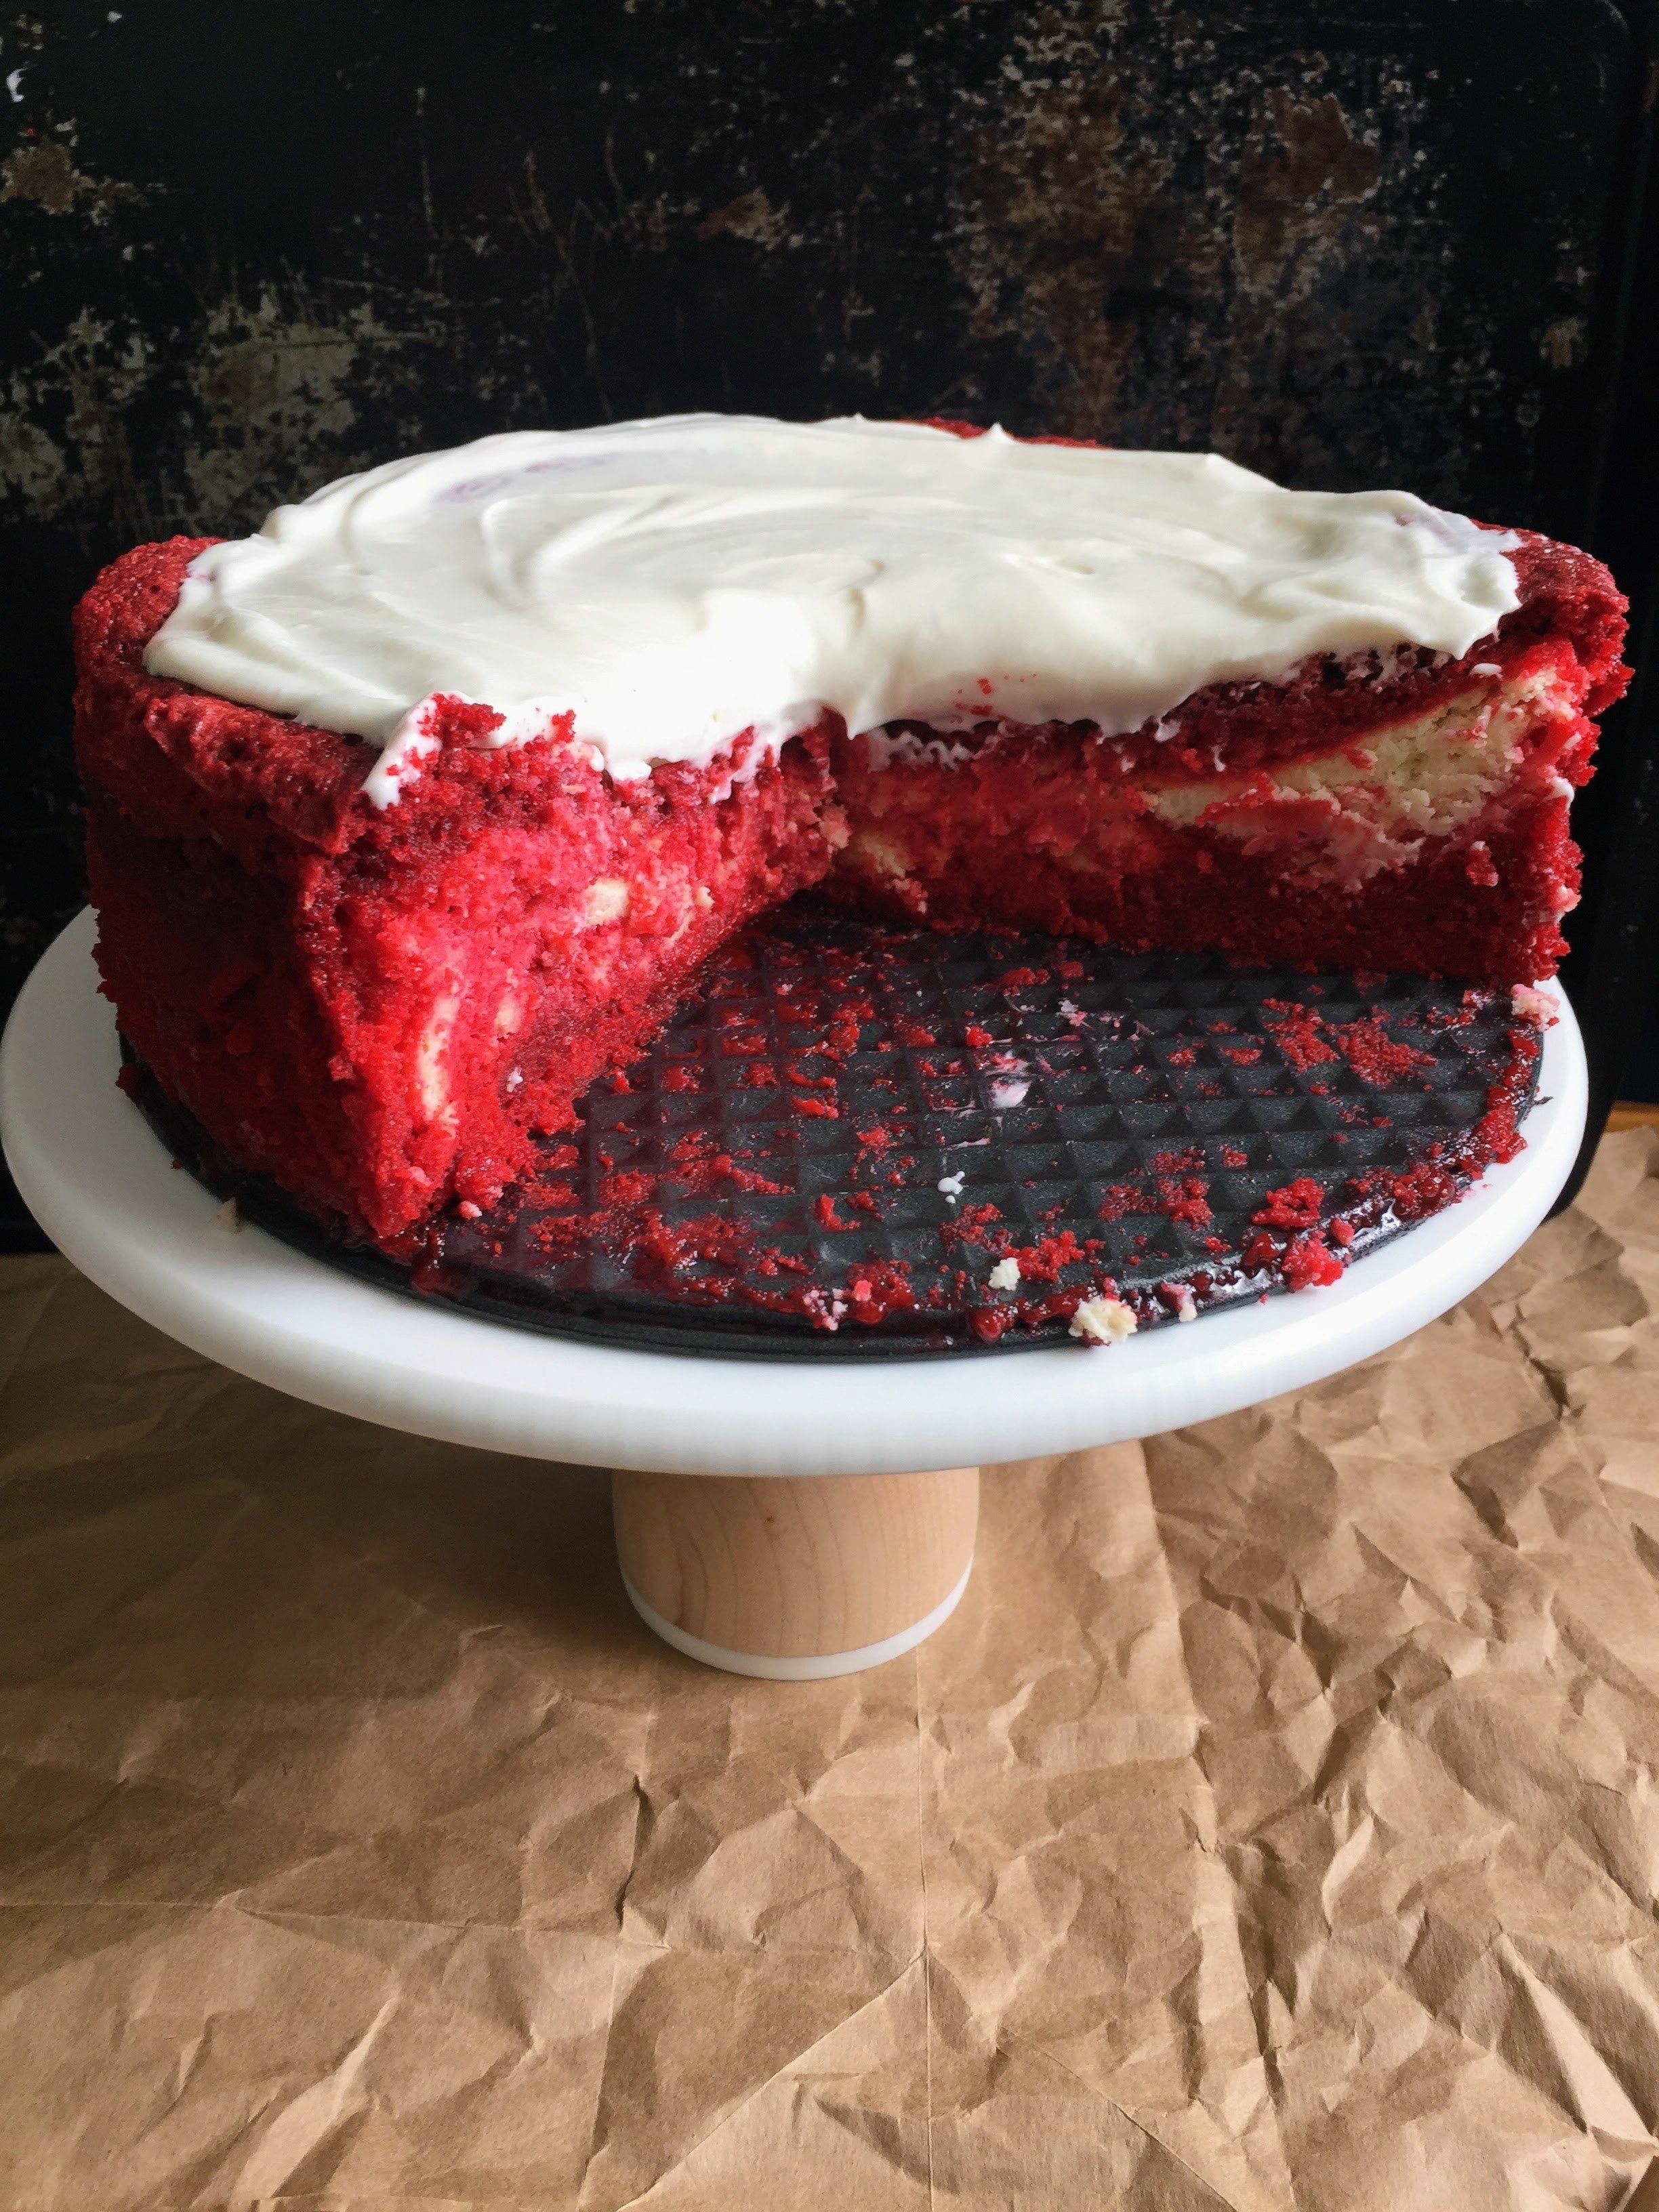
- Pour about 1.5 cups of the cake batter into the prepared pan. Then add 1 cup of the cheesecake batter. Continue to alternate pouring ~1-1.5 cups of each batter into the pan until you have used up the batter. Swirl gently with a knife.
- Bake for 65 minutes or until the cheesecake is set. When the time is up, prop open the oven door with a wooden spoon and allow the cheesecake to sit in the oven for an hour. Remove from the oven and allow the cheesecake to cool completely; then, refrigerate it overnight.
- To make the frosting, beat the cream cheese and butter together on high until smooth and combined, about 1-1.5 minutes.
- Add in vanilla, salt, and half of the powdered sugar. Beat until combined.
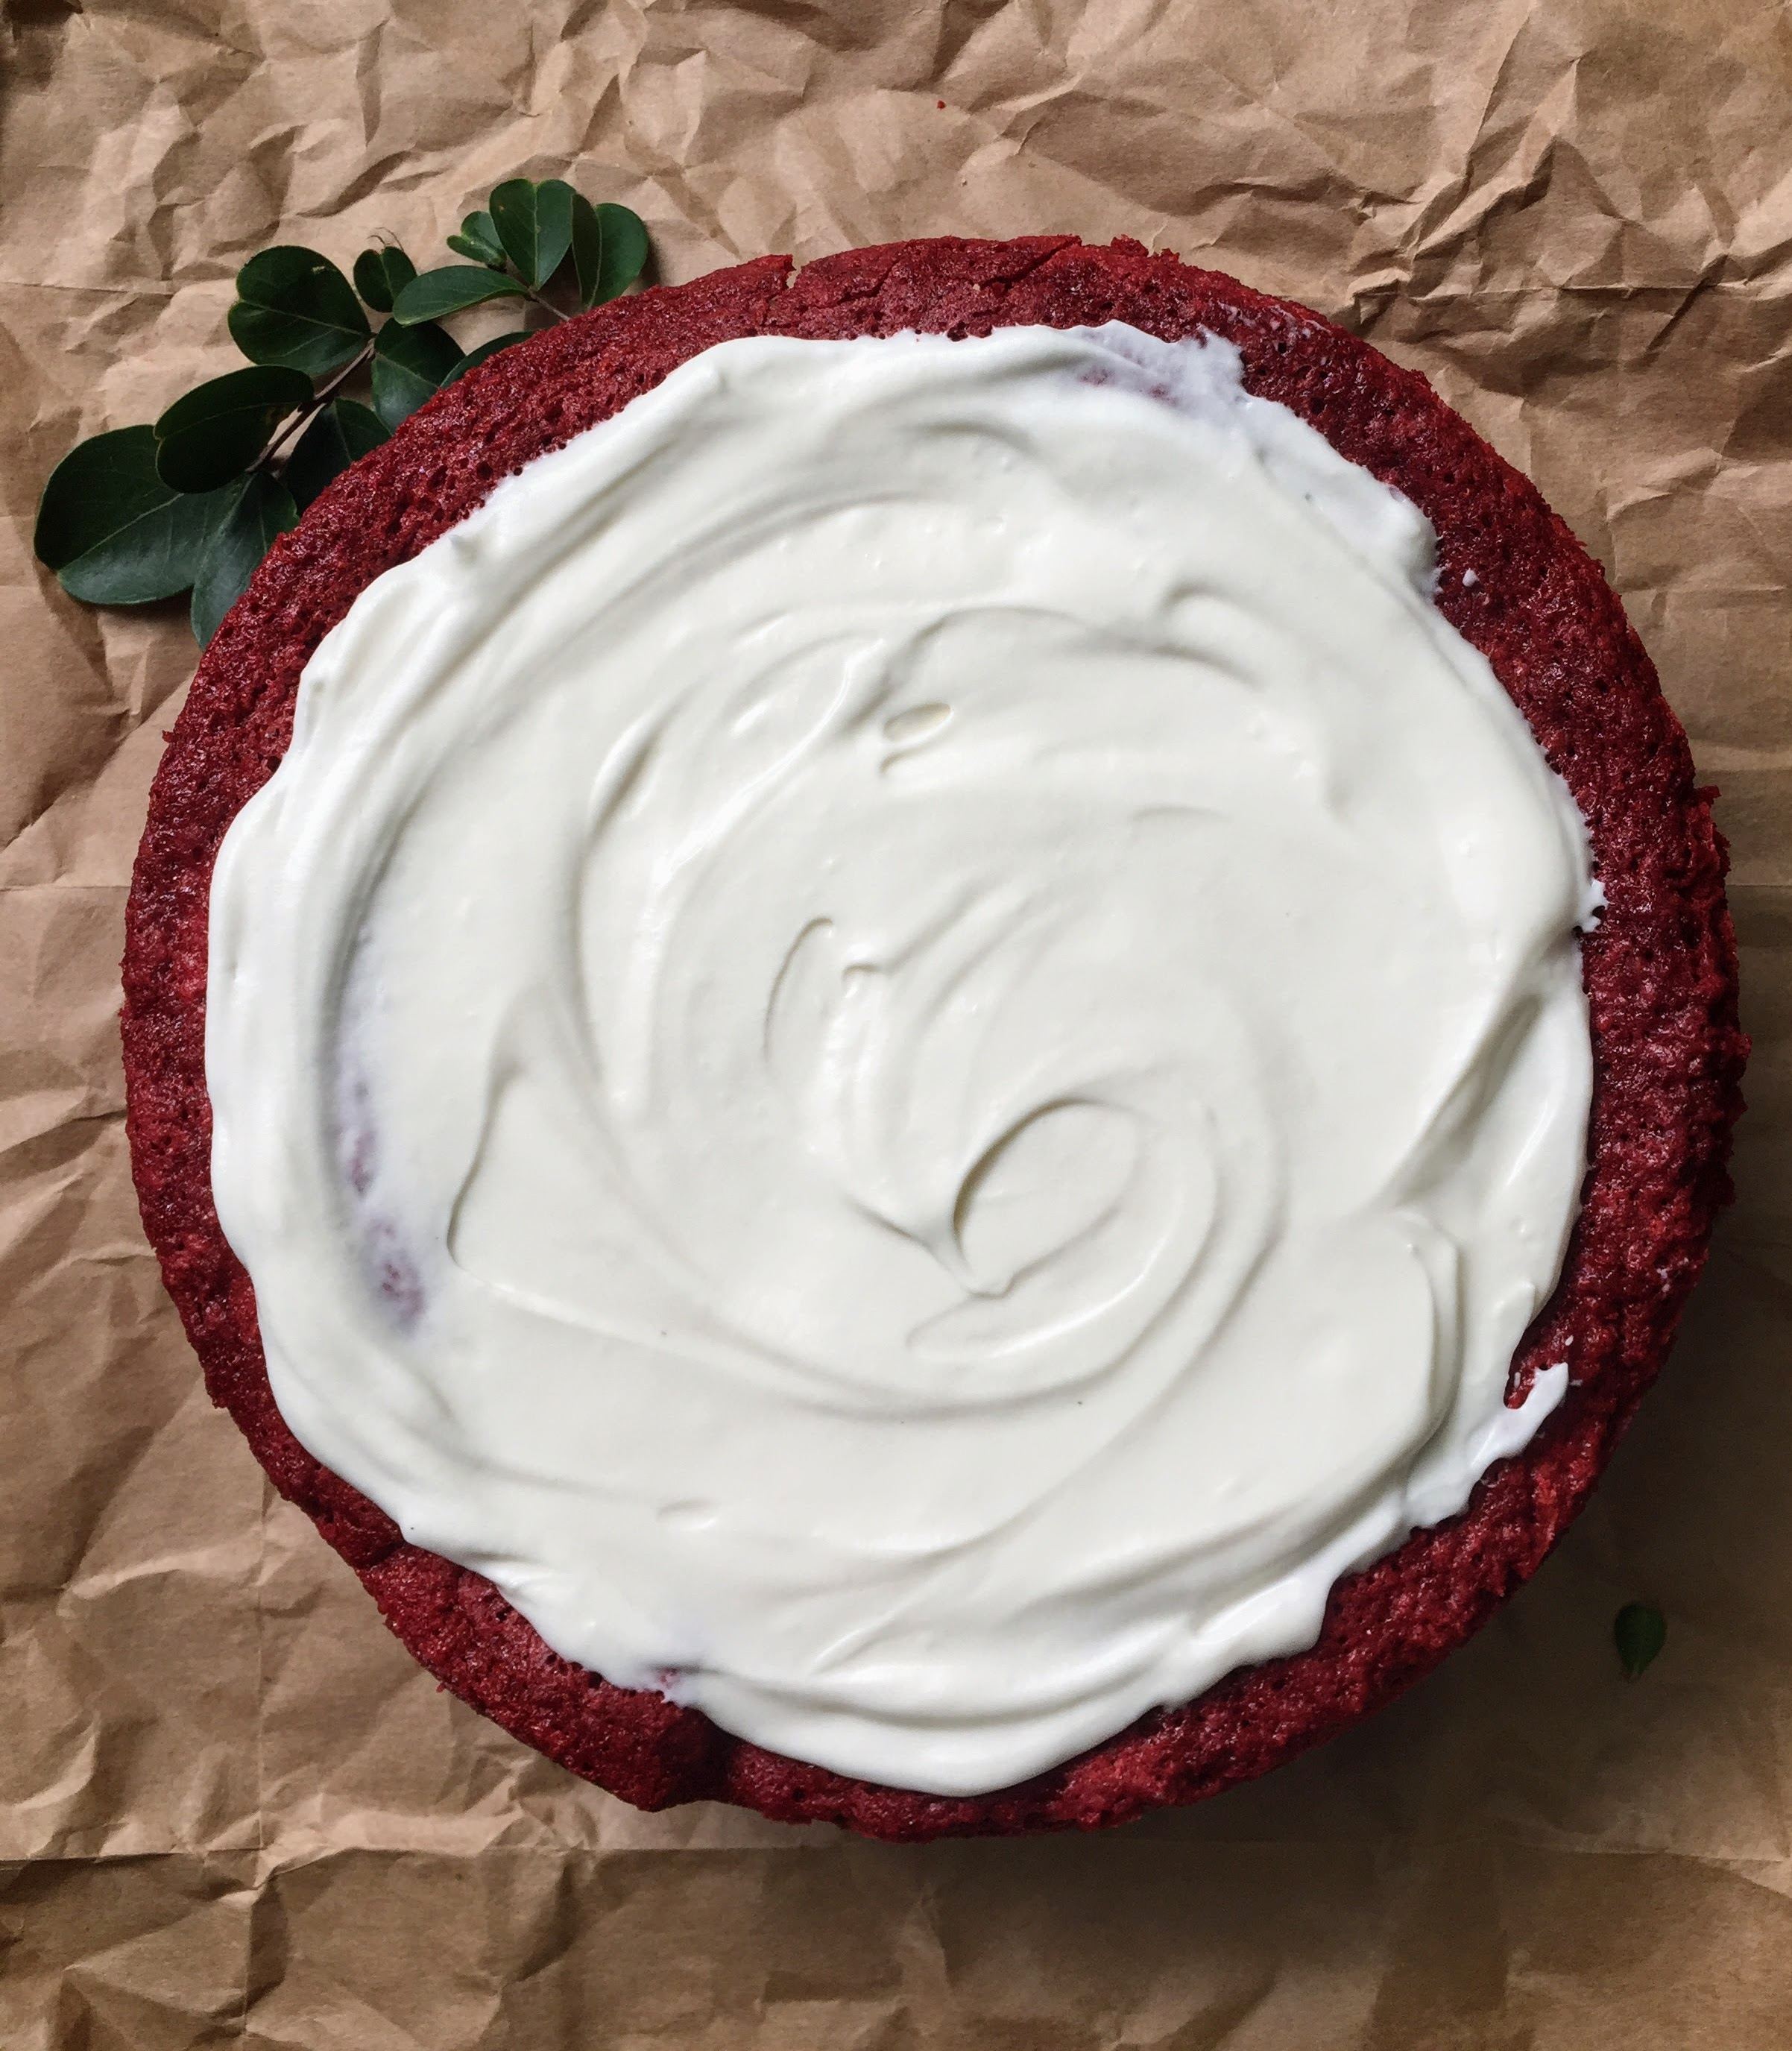
- Add in remaining powdered sugar and beat mixture on high for 2-3 minutes until fluffy. Add 1-2 tablespoons of milk, based on desired thickness. Beat in additional powdered sugar or salt if desired. Slather frosting onto top of cake.
- Store cake in refrigerator for up to a week.
Cue Usher.
Now we’re ready.

-
Confession #1: When I make recipes, I don’t *usually* test them. I get an idea and make it happen. Yes, this could lead to a flaws in my recipes here and there, but (a) I am not a professional, (b) remaking stuff I am 99% sure is fine isn’t worth it to me, and (3) thinking about all of the leftovers makes me cringe! One of my friends who knows I blog recently asked me if I ever threw something out that I made. I told her no, but ironically threw away the cheesecake batter during the second trial run of recipe testing this cake. #woops. More on that later.
Channeling my inner Molly Yeh^^^.
-
Confession #2: Yep, you just read that correctly. I said SECOND trial run of recipe testing this cake. After I just said I don’t test my recipes; I make them. Yes, that’s how I usually (and prefer to) roll, but for this one, it needed some extra attention. I made this cake three times, three different ways before I was happy with it. Round one involved a box mix and the cheesecake recipe you see below. There was some serious sinkage that I can only attribute to something being funny in the box mix because it didn’t happen with either of my other cakes. Round two was an entire batch of Sally’s Red Velvet Cake, which left me with a 9-inch layer of red velvet cake in addition to the cheesecake cake. This was also the batch in which I accidentally curdled some of the yogurt before mixing it into the cheesecake batter, only to find weird rubbery bits mixed into the batter. I couldn’t for the life of me remember how it happened until it finally clicked: Oh yeah, I microwaved the yogurt in the name of “room temperature ingredients” and cooked it for too long. I was just relieved to figure out what happened. For round three (FINALLY!), I halved the red velvet cake recipe, kept the cheesecake batter (didn’t microwave the yogurt), and baked it like I had the others. Round three was the winner and what you see here. YAY FOR SUCCESS!
-
Confession #3: I AM SO TIRED OF PHOTOGRAPHING ROUND DESSERTS THAT REQUIRE YOU TO CUT SLICES! Seriously, so overrated. I was explaining to Collin how these kinds of desserts force you to make perfectly even cuts, carefully remove the slices from the pie, make sure the frosting doesn’t look weird or droop, etc. When I said it out loud, it sounded 100% trivial, and it kind of is, but still… this girl needs a break. I also just realized my most recent 4 posts here have involved slice pictures. Guess what’s next? Sure as heck won’t be a pie!
-
Confession #4: This cake is a labor of love, and I loved and hated making it. Don’t be deceived; one layer here does not equal simple. Lots of steps, lots of maintenance. Doesn’t sound like anyone I know… Ha ha ha. Read the recipe all the way through (I know, I know. Just do it.) and block out a few hours on your calendar for this one. Lucky for you the cheesecake batter and frosting can be whipped up ahead of time and kept in the fridge (for no more than a few days). But yeah, this cake is not for the faint of heart.
-
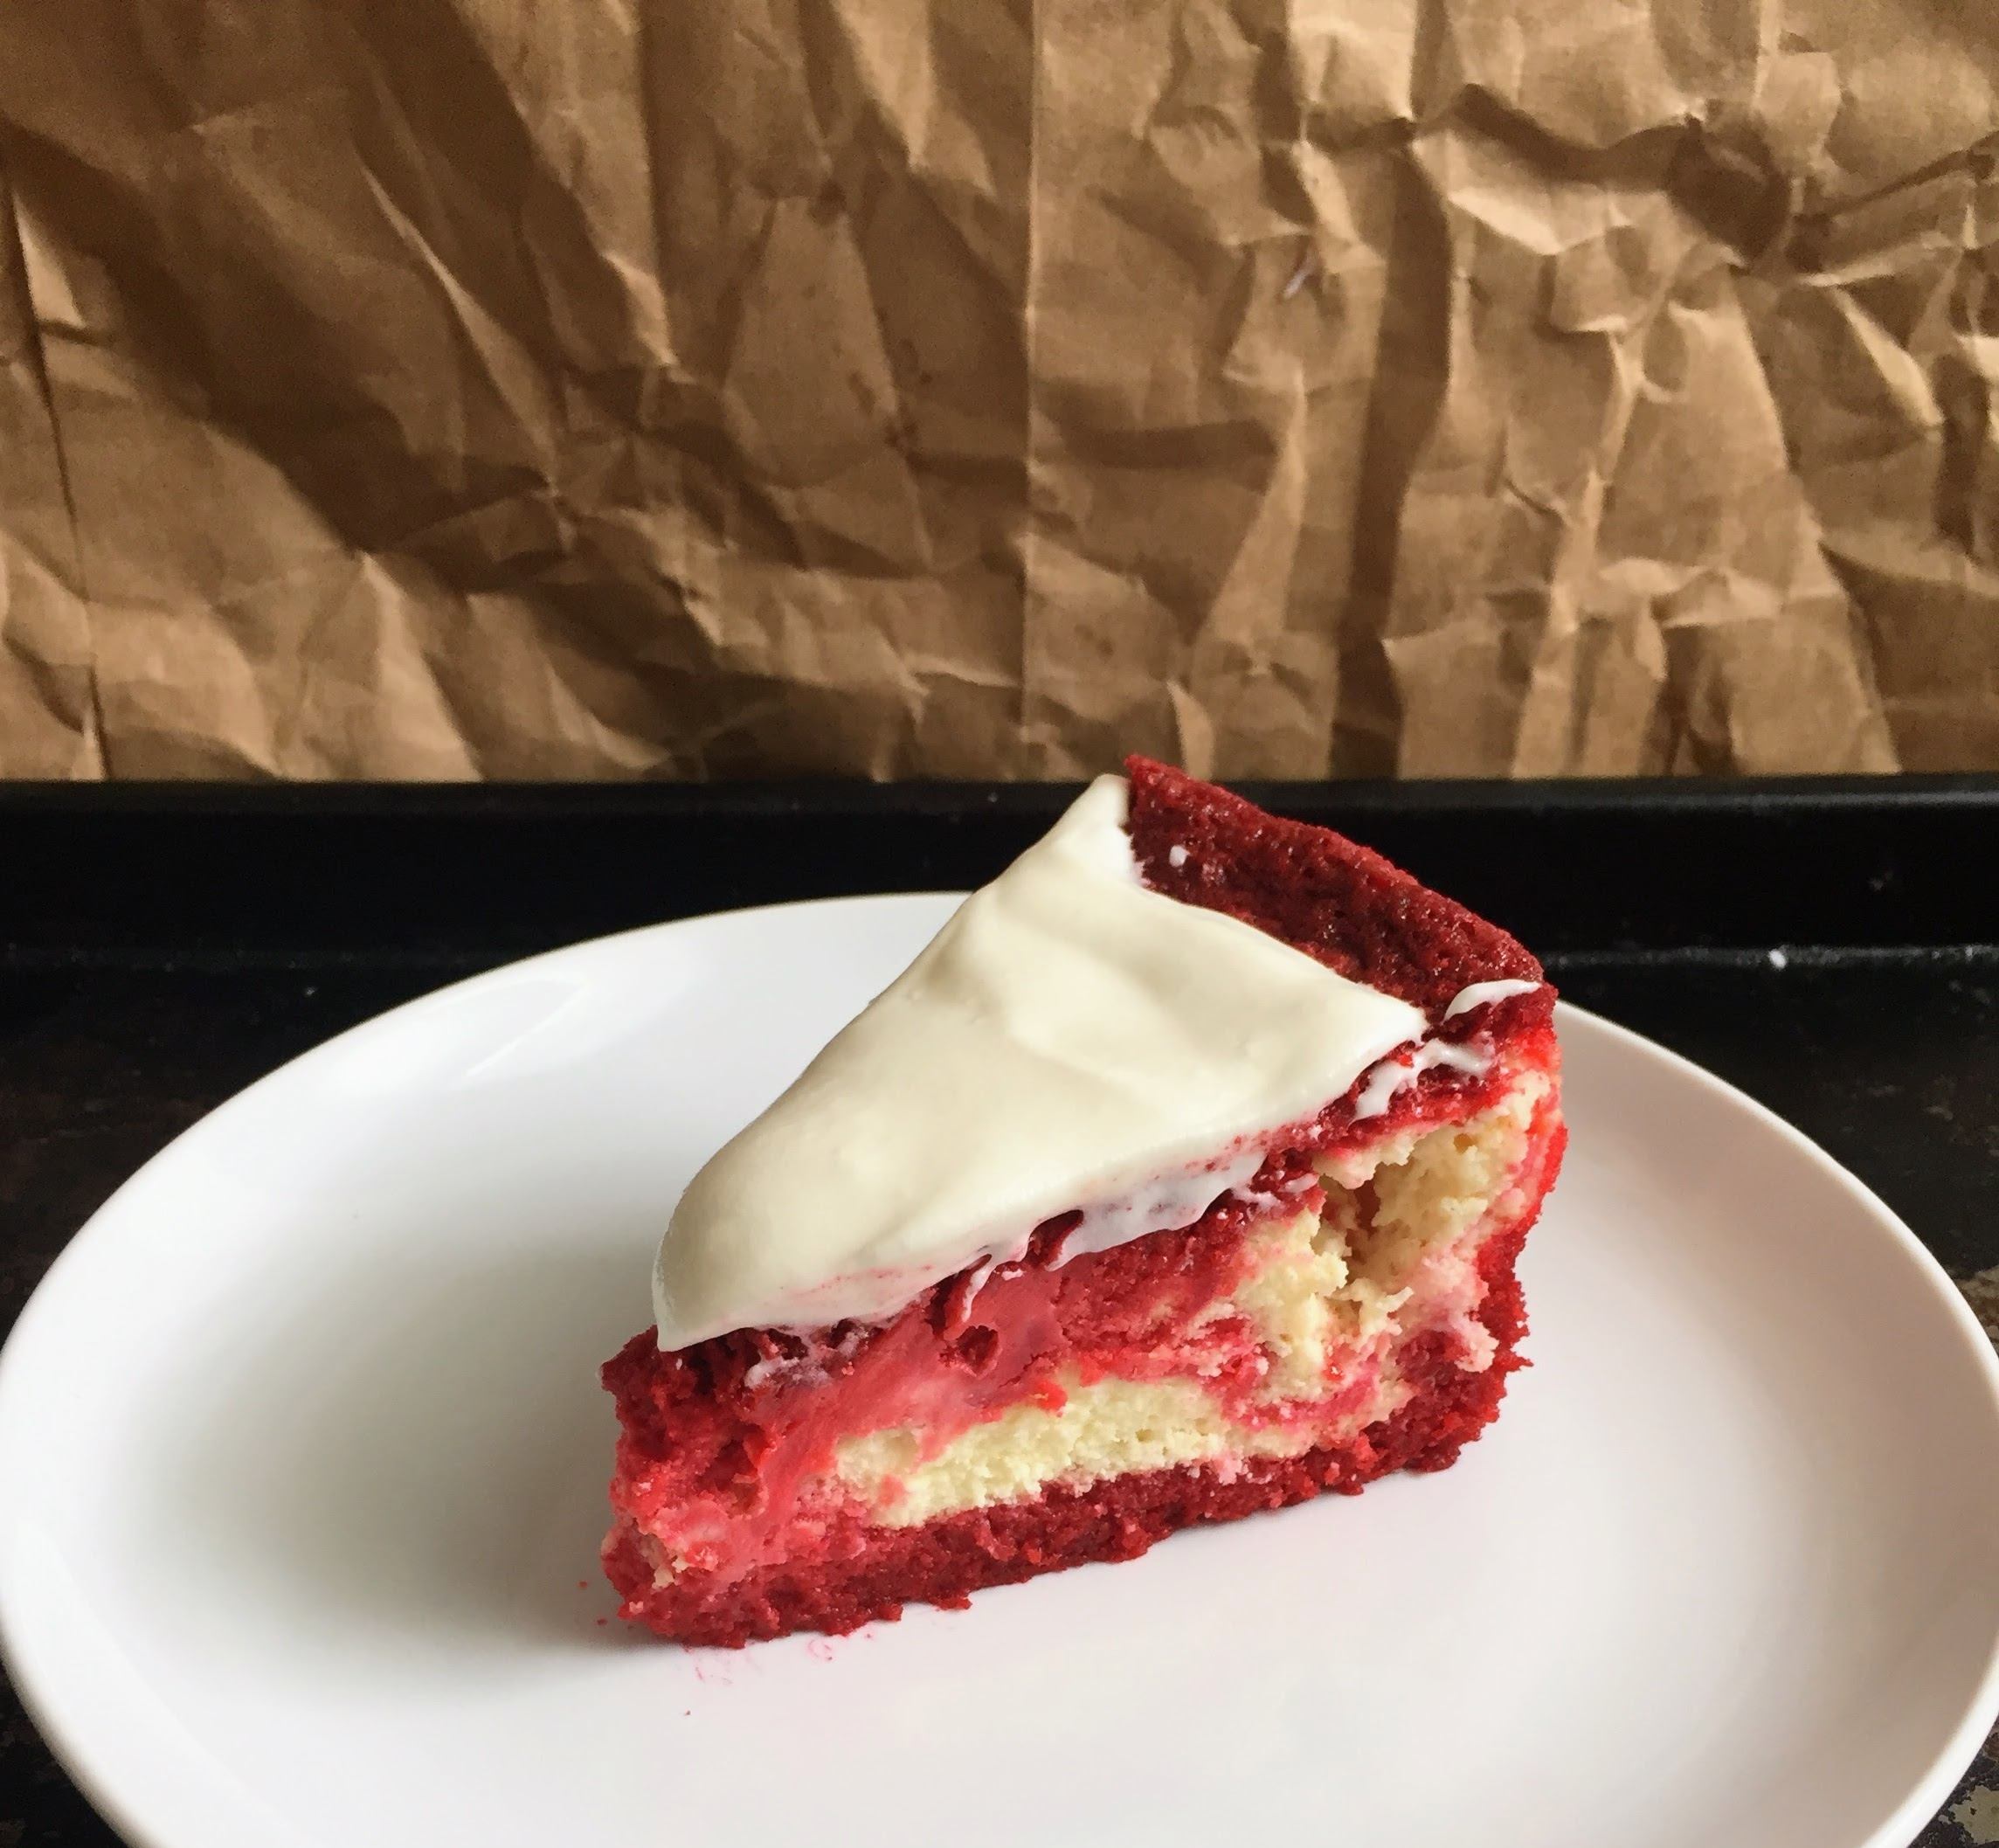
Confession #5: *I will be straight up honest with you: this is a complete riff off of the Cheesecake Factory’s Red Velvet Cheesecake Cake. I’ve made a layered version like theirs before, but after I saw Sally’s pumpkin cheesecake cake, I knew I wanted to try it with red velvet. The flavor is different, yes, but the method is extremely similar. I relied heavily on her directions for all components of this recipe and encourage you to check out her directions for the red velvet cake, too! (They’re probably more thorough than mine.)*
-
One last piece of advice: Don’t try to calculate nutrition facts for this baby. Some things in life are meant to be enjoyed, not ruined. This cake is one of those things.
-
Enjoy!
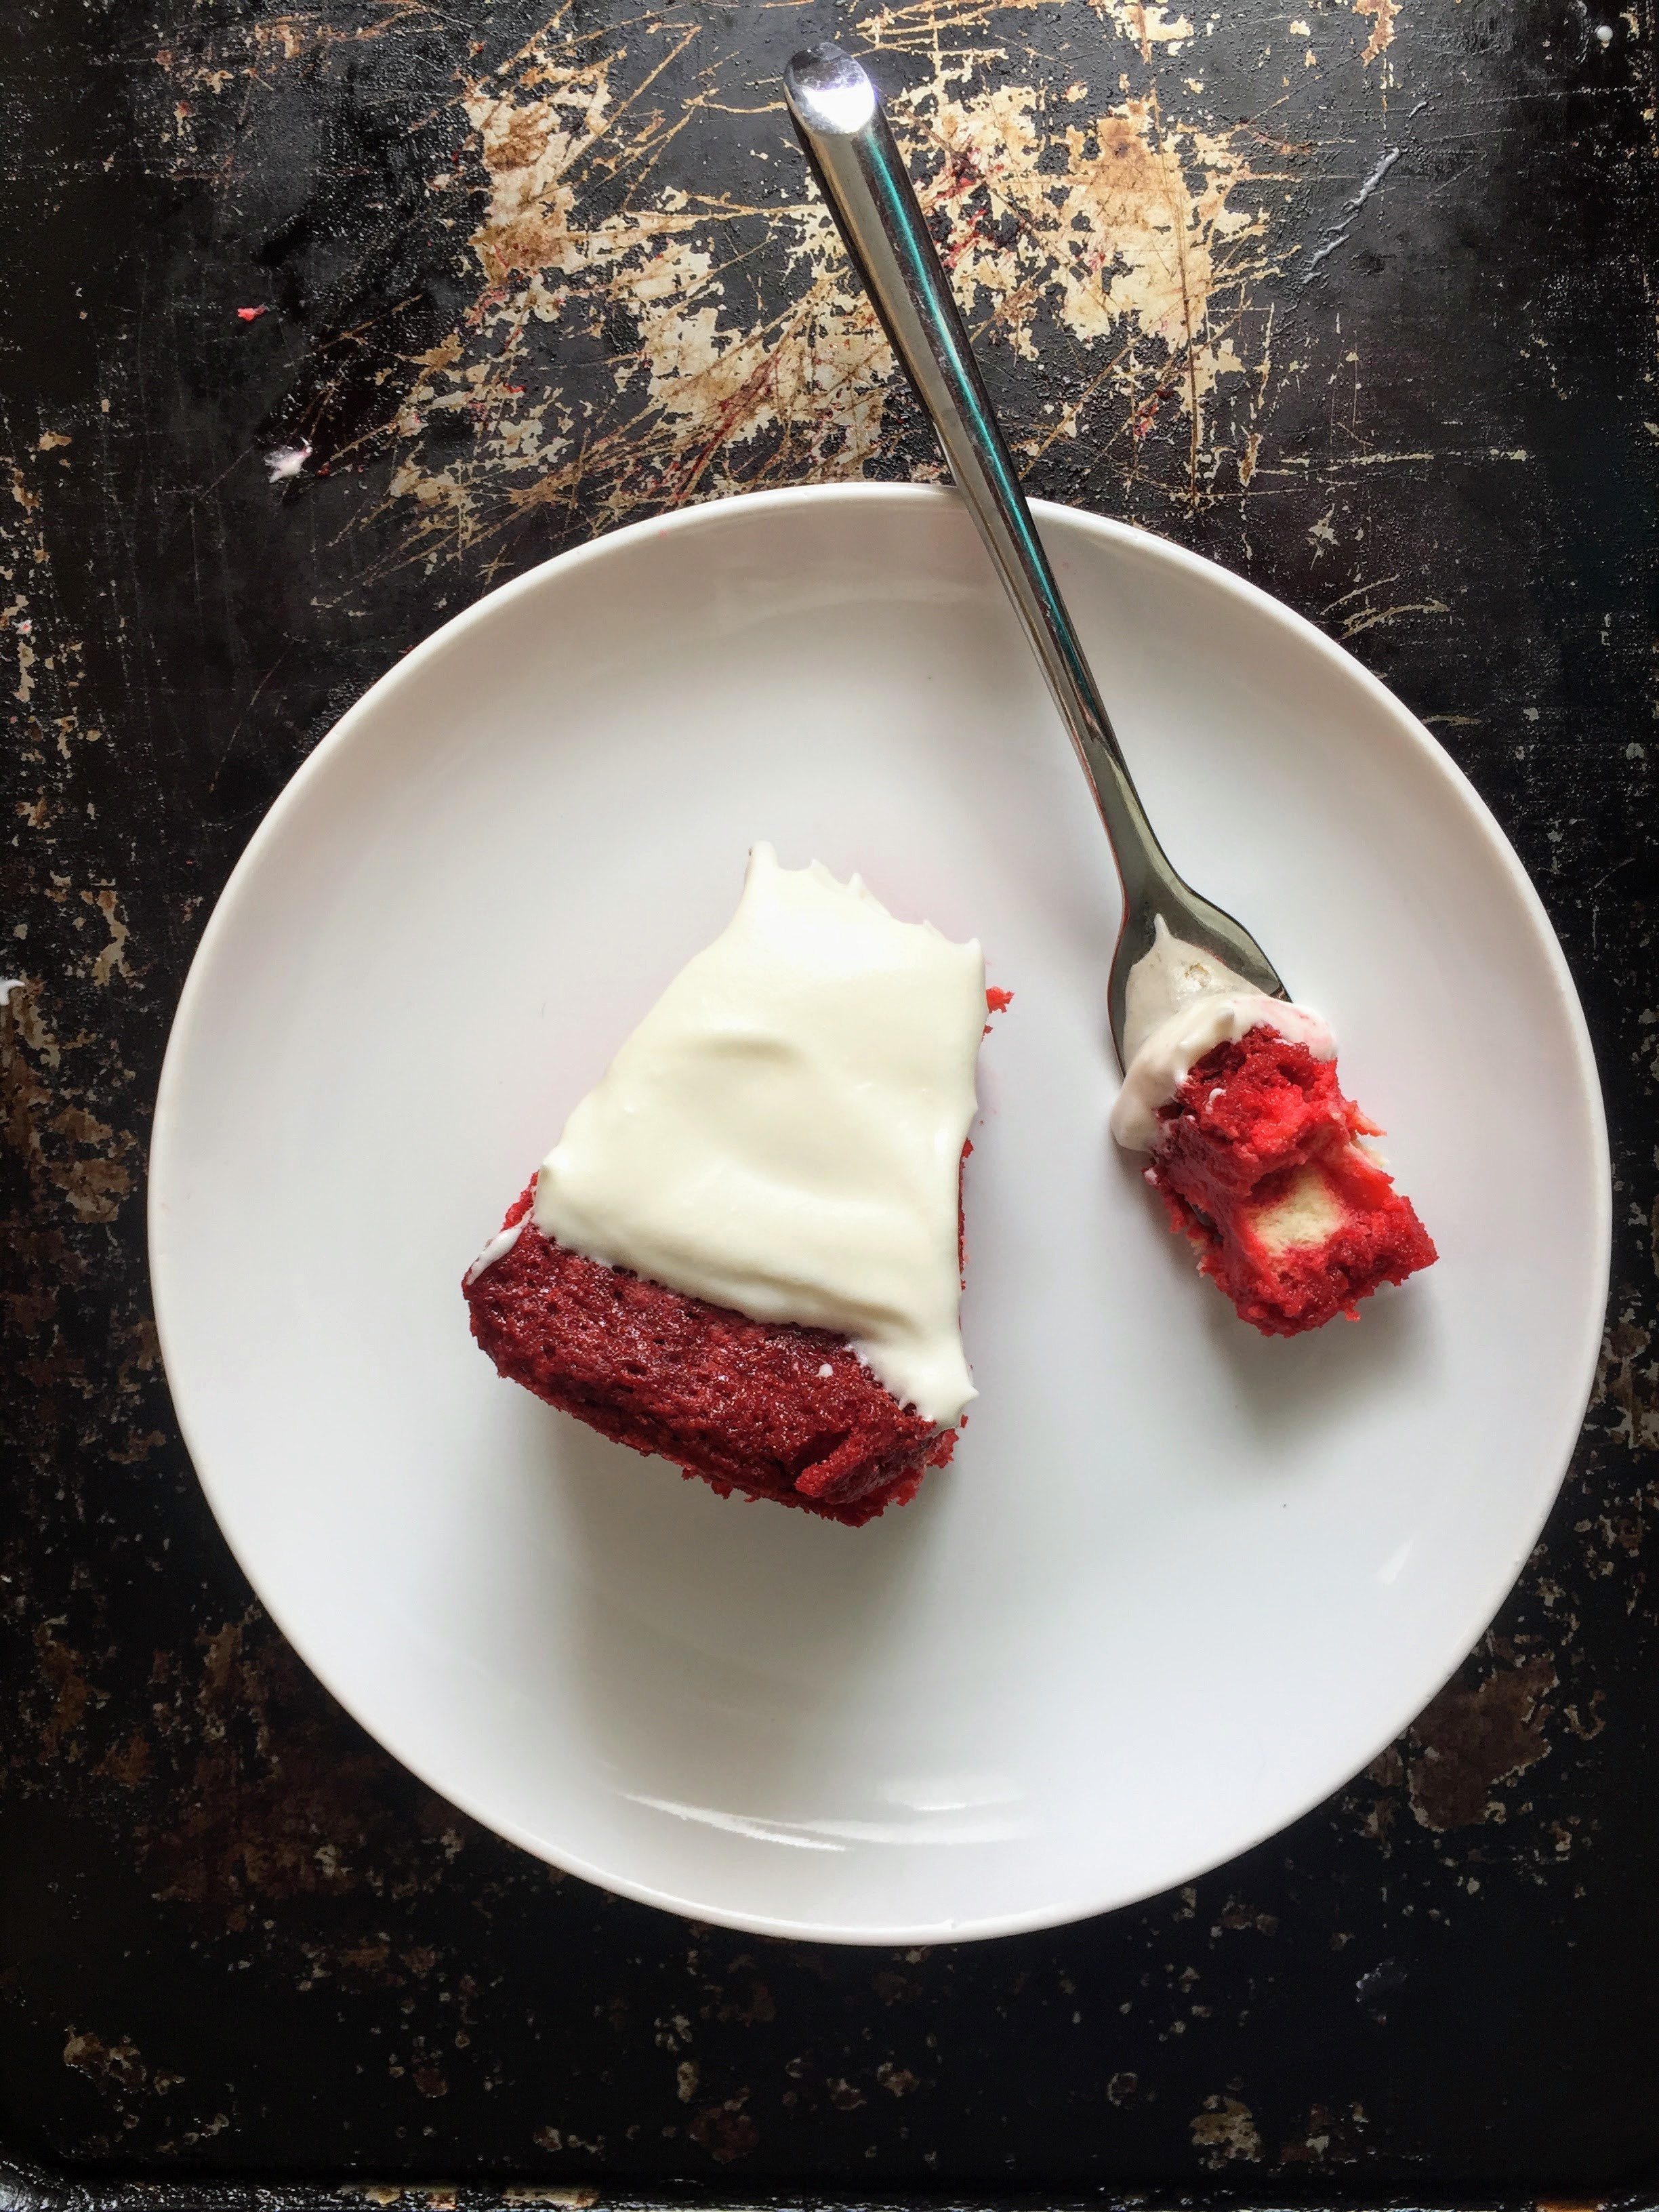
Red Velvet Cake Cheesecake
Red velvet on another level! This recipe combines red velvet cake and cheesecake to make one outrageous dessert that's perfect for any red velvet lover!
Yum,
I want this for Valentines day dinner with my sweetie, your dad!!!
love you bug
Mom